ONLINE PORTAL HANDBOOK (for Admins)
How to Use This Guide Hover over the yellow flashing Click to watch a short video symbol to read further instructions

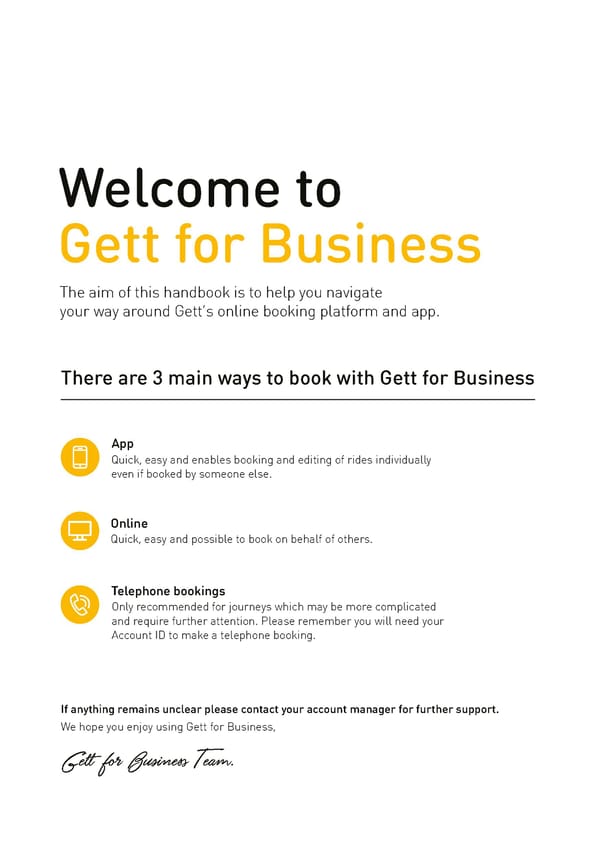
INTRODUCTION Welcome to Gett for Business The aim of this handbook is to help you navigate your way around Gett’s online booking platform and app. There are 3 main ways to book with Gett for Business App Quick, easy and enables booking and editing of rides individually even if booked by someone else. Online Quick, easy and possible to book on behalf of others. Telephone bookings Only recommended for journeys which may be more complicated and require further attention. Please remember you will need your Account ID to make a telephone booking. If anything remains unclear please contact your account manager for further support. We hope you enjoy using Gett for Business, Gett for Business Team. 2
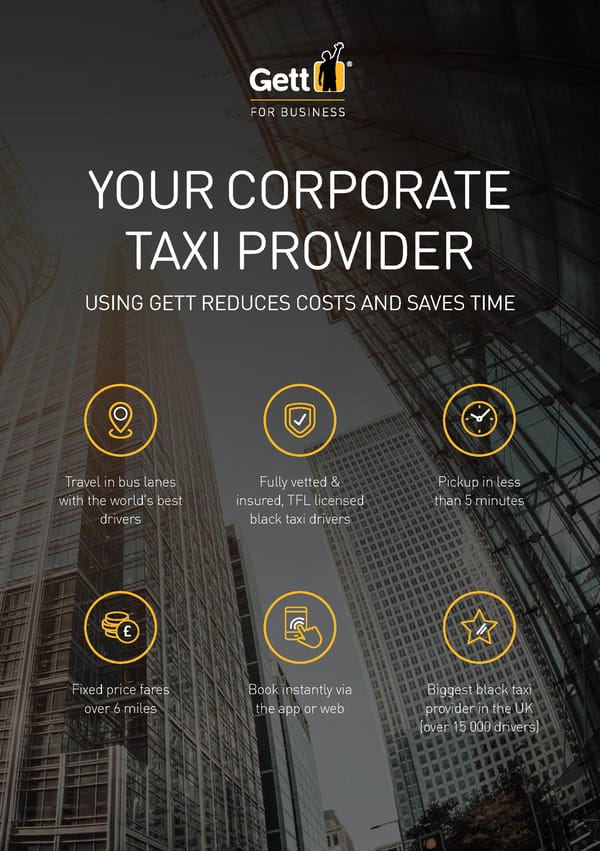
YOUR CORPORATE TAXI PROVIDER USING GETT REDUCES COSTS AND SAVES TIME Travel in bus lanes Fully vetted & Pickup in less with the world’s best insured, TFL licensed than 5 minutes drivers black taxi drivers Fixed price fares Book instantly via Biggest black taxi over 6 miles the app or web provider in the UK (over 15 000 drivers)
HOW TO LOG INTO THE ONLINE PORTAL Go to Gett’s website at gett.com/uk and click the ‘Business Login’ button located in the top right hand corner. gett.com/uk/business 16

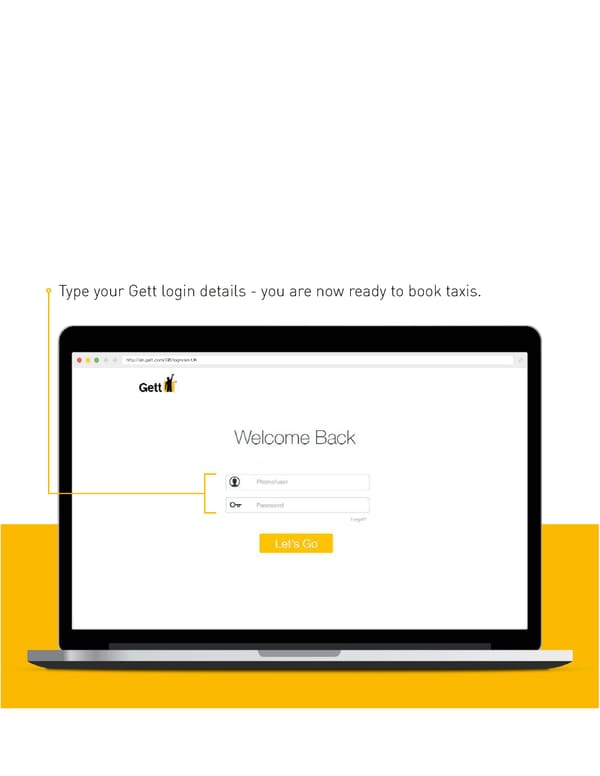
Type your Gett login details - you are now ready to book taxis. http://uk.gett.com/GB/login/en-UK 17
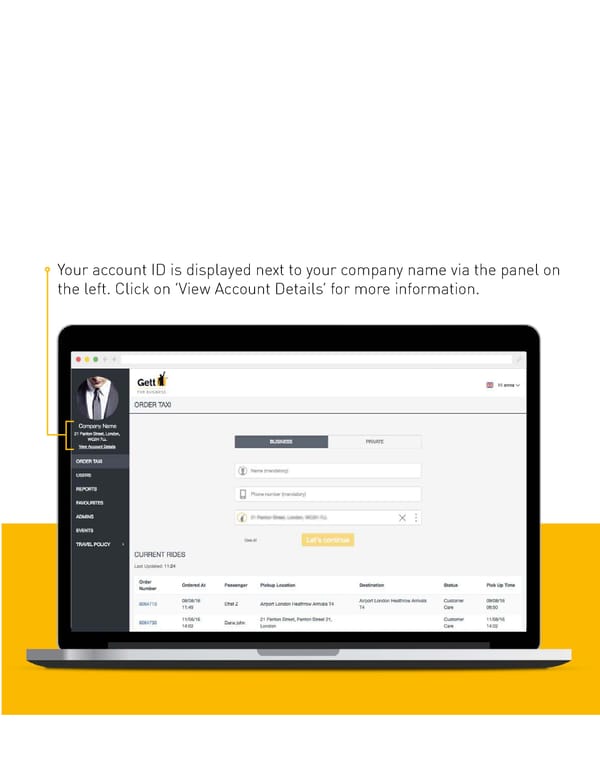
HOW TO FIND YOUR ACCOUNT ID Your account ID is displayed next to your company name via the panel on the left. Click on ‘View Account Details’ for more information. 18
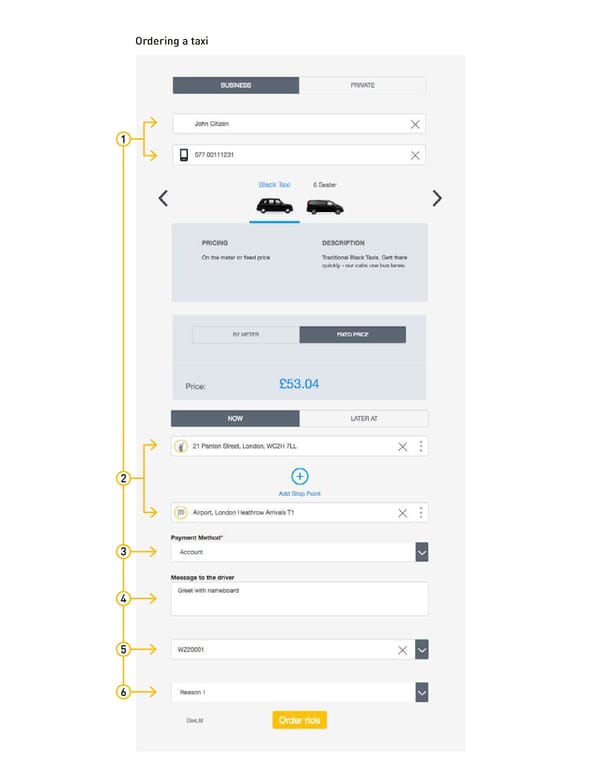
HOW TO BOOK ON BEHALF OF ANOTHER REGISTERED USER Book a cab for another employee using your own login (see image next page over) 1 Type the passenger’s name or phone number (for international numbers please drop 00 and input area code followed by the passenger’s number e.g. for the UK: 447XXXXXXXXX). 2 Enter the ride details as usual – pick up address, destination, date and time (click ‘Later At’ to set a time in the future). 3 Select a payment method. 4 Enter a message to the driver if required e.g. large suitcase. SMS notifications about the ride will be sent to the passenger’s mobile once booked. 5 Enter a reference. You may have more than one reference field dependent upon your company (e.g. cost centre). 6 Enter ‘Reason of Travel’. 20
Ordering a taxi 1 2 3 4 5 6 21

HOW TO BOOK ON BEHALF OF A NON-REGISTERED USER (see image next page over) 1 Type the passenger’s name and phone number (for international numbers please drop 00 and input area code followed by the passenger’s number e.g. for the UK: 447XXXXXXXXX). 2 Enter the ride details as usual – pick up address, destination, date and time (click ‘Later At’ to set a time in the future). 3 For Payment Method: Select Account if you wish the ride to be paid on Account Select Cash/Credit Card if you wish the passenger to pay for the ride The passenger can pay by credit card by calling Customer Care 0207 788 8987 once the ride is finished. 4 Enter a message to the driver if required. 5 Enter a reference. You may have more than one reference field dependent upon your company (e.g. cost centre). 6 Enter ‘Reason of Travel’. 22 22
Ordering a taxi 1 2 3 4 5 6 23
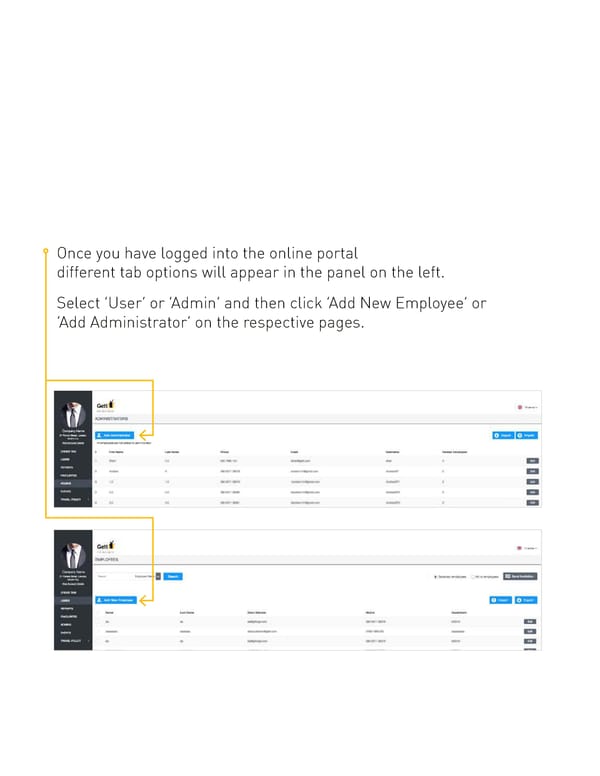
HOW TO ADD NEW USERS AND ADMINS Once you have logged into the online portal different tab options will appear in the panel on the left. Select ‘User’ or ‘Admin’ and then click ‘Add New Employee’ or ‘Add Administrator’ on the respective pages. 24
After clicking ‘Add New Employee’ or ‘Add Administrator’ a box will appear. Enter details of new people paying particular attention to email address and phone number. 26
If a user has an assistant (e.g. a PA) associated with them ensure this is captured in the relevant field. To complete the addition, please select ‘Send Invite’ for the user to be able to download the app. Finally, to complete any new adminstrator added, please set a username and password. NB: To mass upload new users and admins, select ‘Import’ under the ‘Admin’ or ‘User’ tabs, and follow instructions. 27
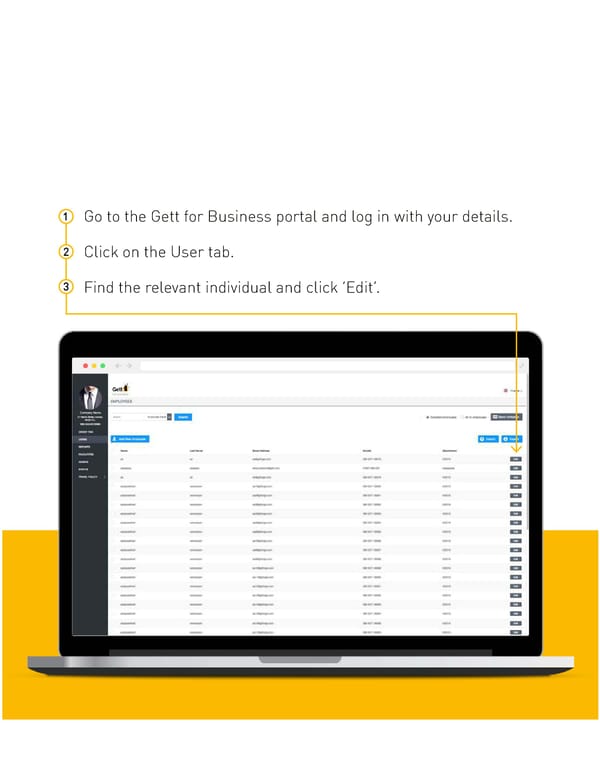
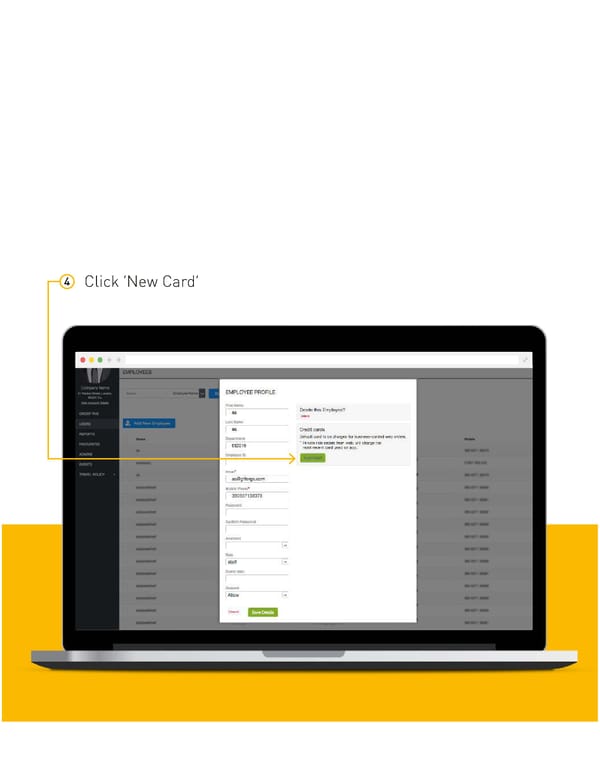
HOW TO REGISTER A CREDIT CARD 1 Go to the Gett for Business portal and log in with your details. 2 Click on the User tab. 3 Find the relevant individual and click ‘Edit’. 28
4 Click ‘New Card’. 29
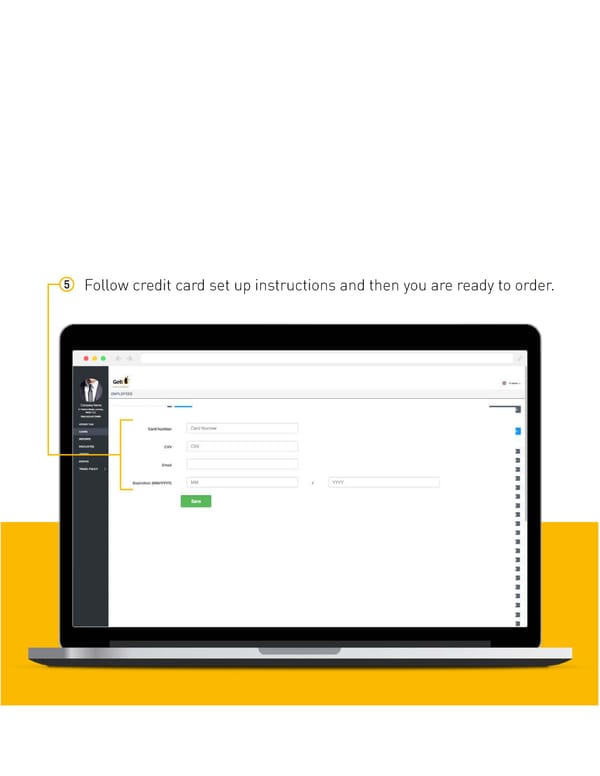
5 Follow credit card set up instructions and then you are ready to order. 30
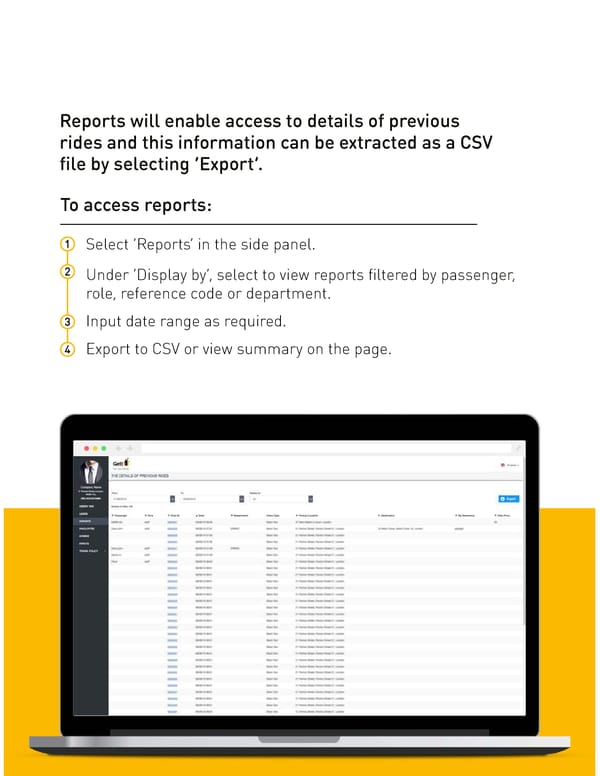
HOW TO EXPORT REPORTS Reports enable access to details of previous rides and this information can be extracted as a CSV file by selecting ‘Export’. To access reports: 1 Select ‘Reports’ in the side panel. 2 Under ‘Display by’, select to view reports filtered by passenger, role, reference code or department. 3 Input date range as required. 4 Export to CSV or view summary on the page. 32