Your audience can provide a lot of valuable information. Think about personal details such as email addresses, which you can use for your marketing campaign. This article shows you how to generate leads with a Marketo form.
💡This feature is not included in every plan. Please contact our Customer Success Management team ([email protected]) if you're interested in using this functionality.
Why gate forms with a Marketo form?
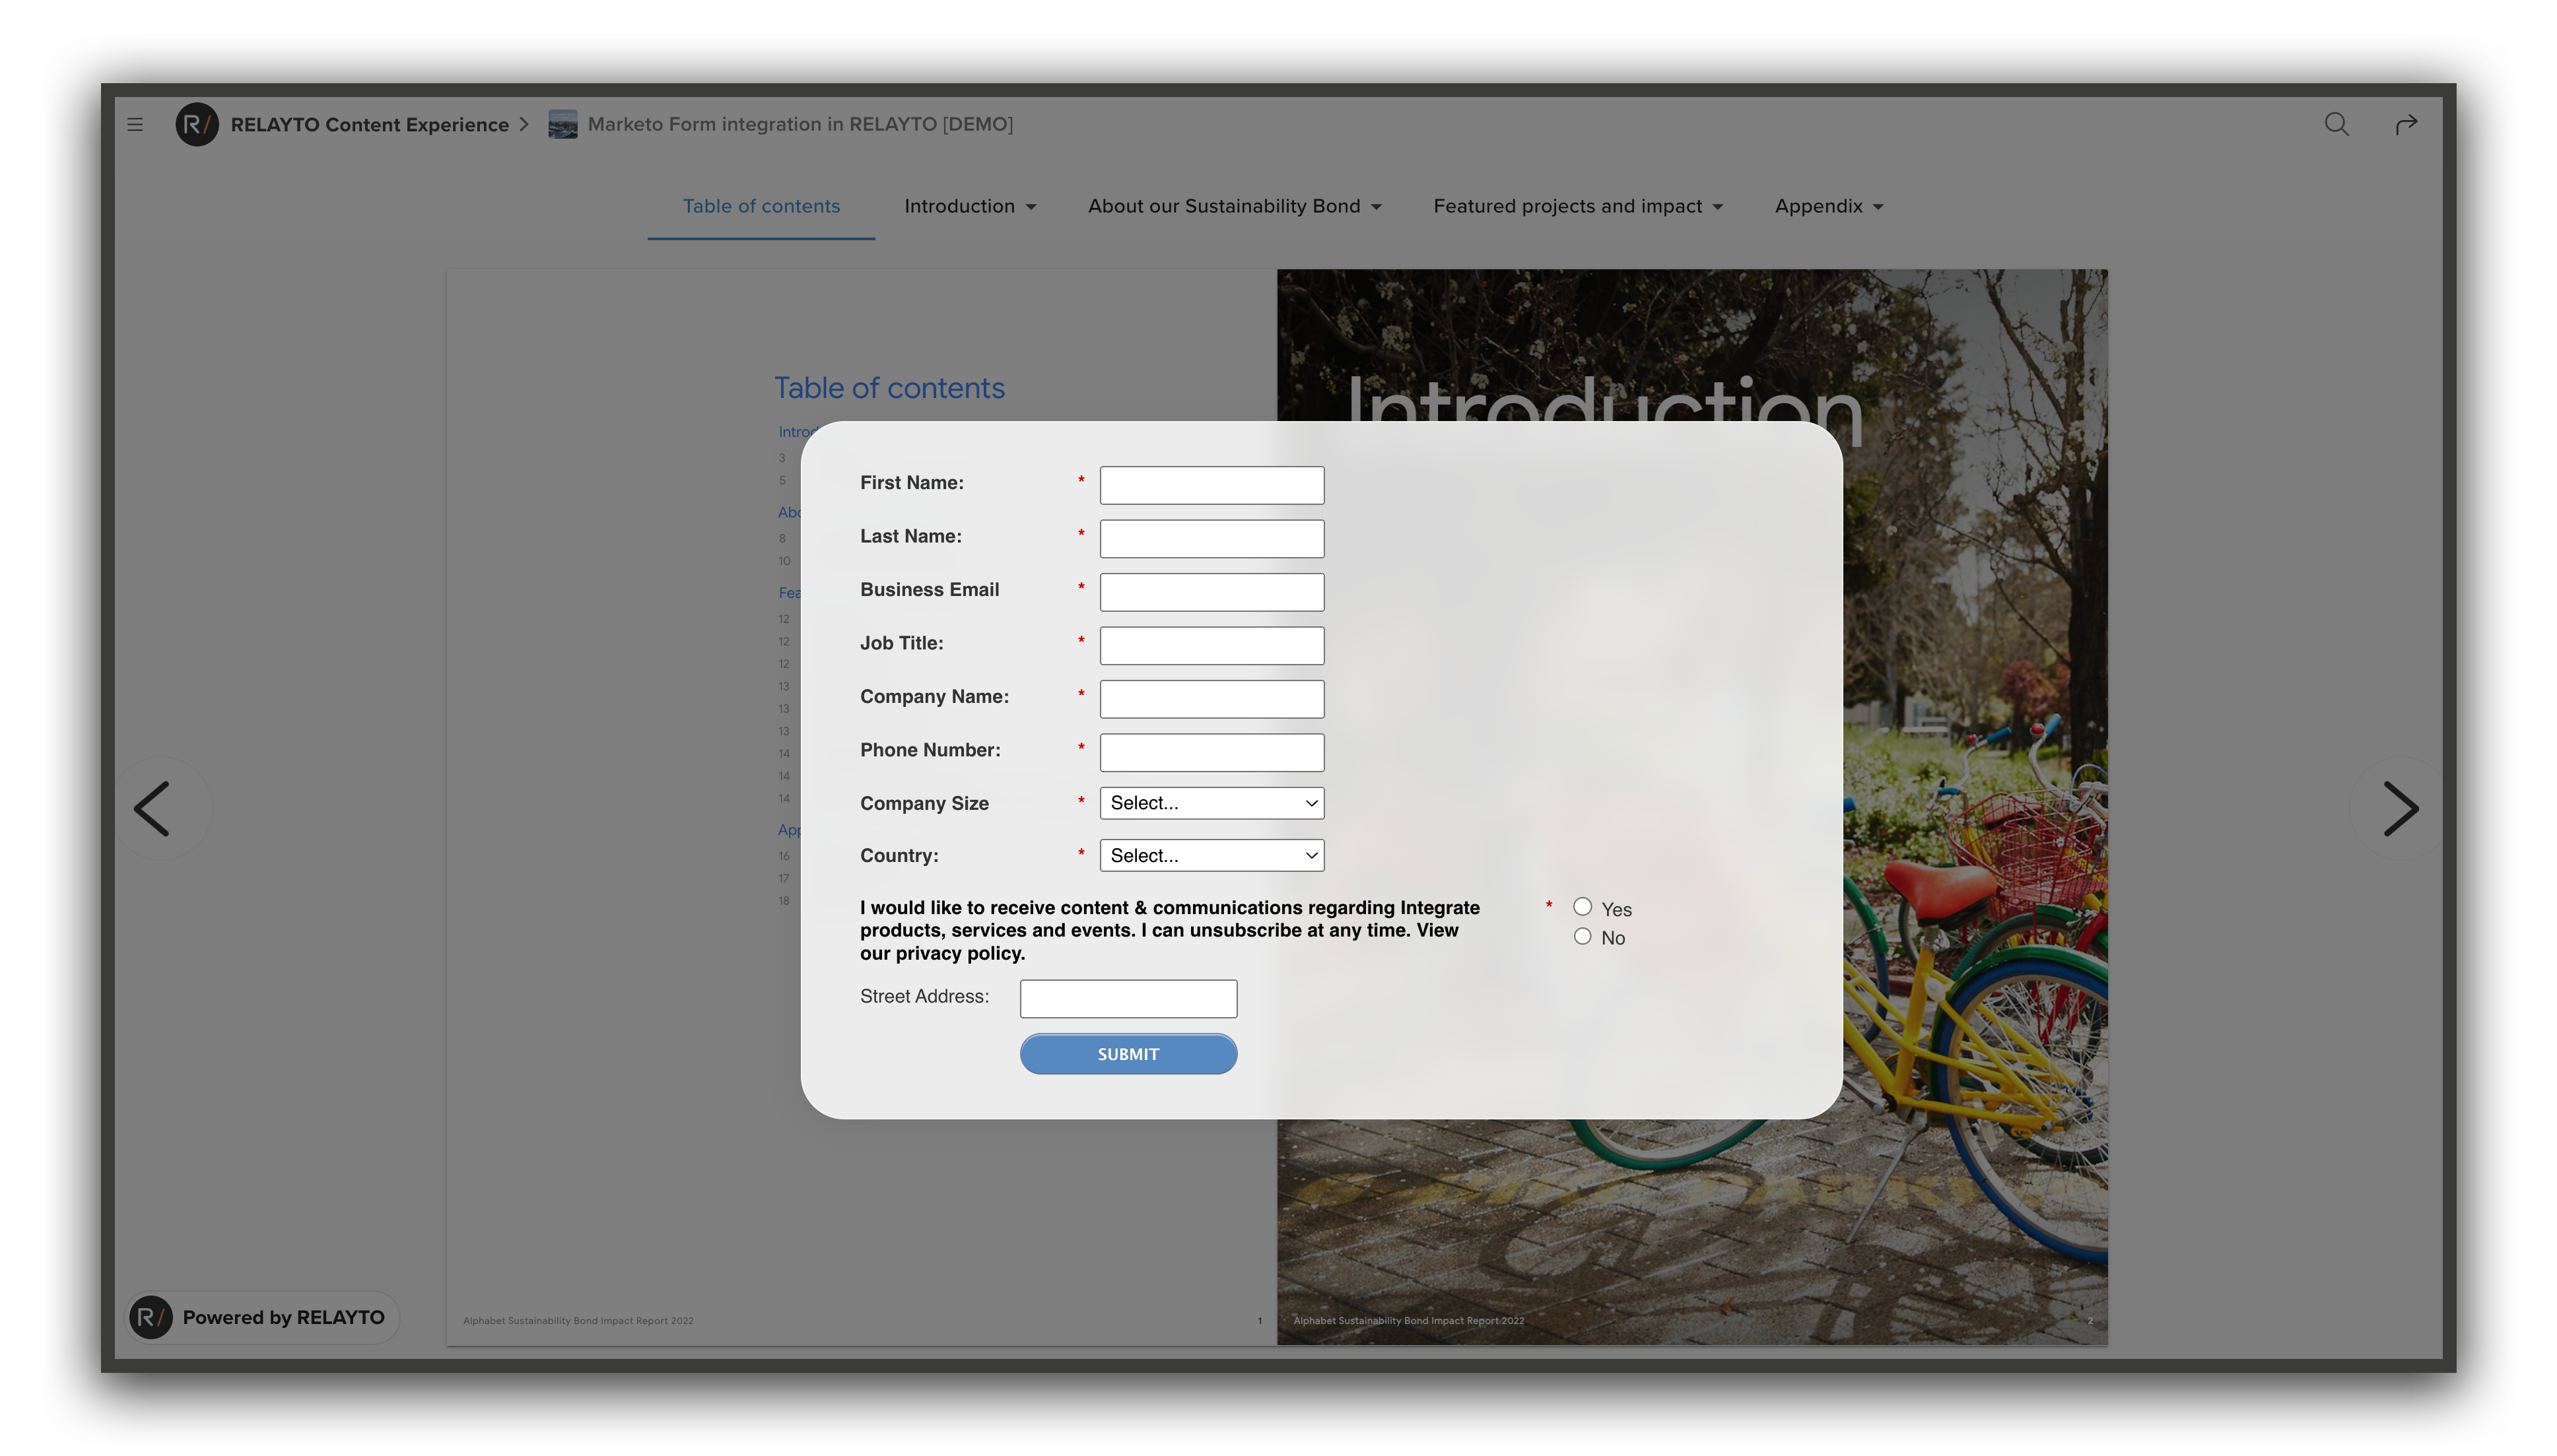
Our lead generation feature allows you to block (further) access to your RELAYTO Content on any page. Visitors are prompted with a pop-up form and must fill in their details to access your content (or the rest of it).
As a marketer or demand generation specialist, you instantly want this information in Marketo. So you can automatically assign leads to your sales reps and do lead scoring and marketing automation right when they convert.
The benefit is that you won’t have to upload all leads on these platforms manually. Next to that, you will have correct attribution in Marketo as well.
How to gate your RELAYTO Content with a Marketo form
To use a Marketo form for lead generation, you must create a form in Marketo. Once you’ve completed the form and the input fields, search for the embed code in the form actions dropdown.
💡 Not sure how to create a form in Marketo? Check out their documentation on forms.
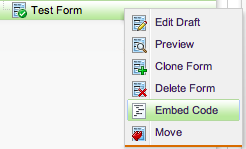
Click on Embed code, where you will find the following variables:
- Marketo Base URL (make sure to include the “//”)
- Marketo Munchkin ID
- Marketo Form ID
You can find these variables in the second script element in the embed code.
<script>MktoForms2.loadForm("//Base URL", "Munchkin ID", Form id);</script>Here’s a full example of such an embed code:
<script src="//app-ab**.marketo.com/js/forms2/js/forms2.min.js"></script>
<form id="mktoForm_1562"></form>
<script>MktoForms2.loadForm("//app-****.marketo.com", "875-JTE-***", 1562);</script>
From this embed code, you can extract the following variables (example):
MARKETO_BASE_URL-"//app-****.marketo.com"MARKETO_MUNCHKIN_ID-"875-JTE-***"MARKETO_FORM_ID-1562
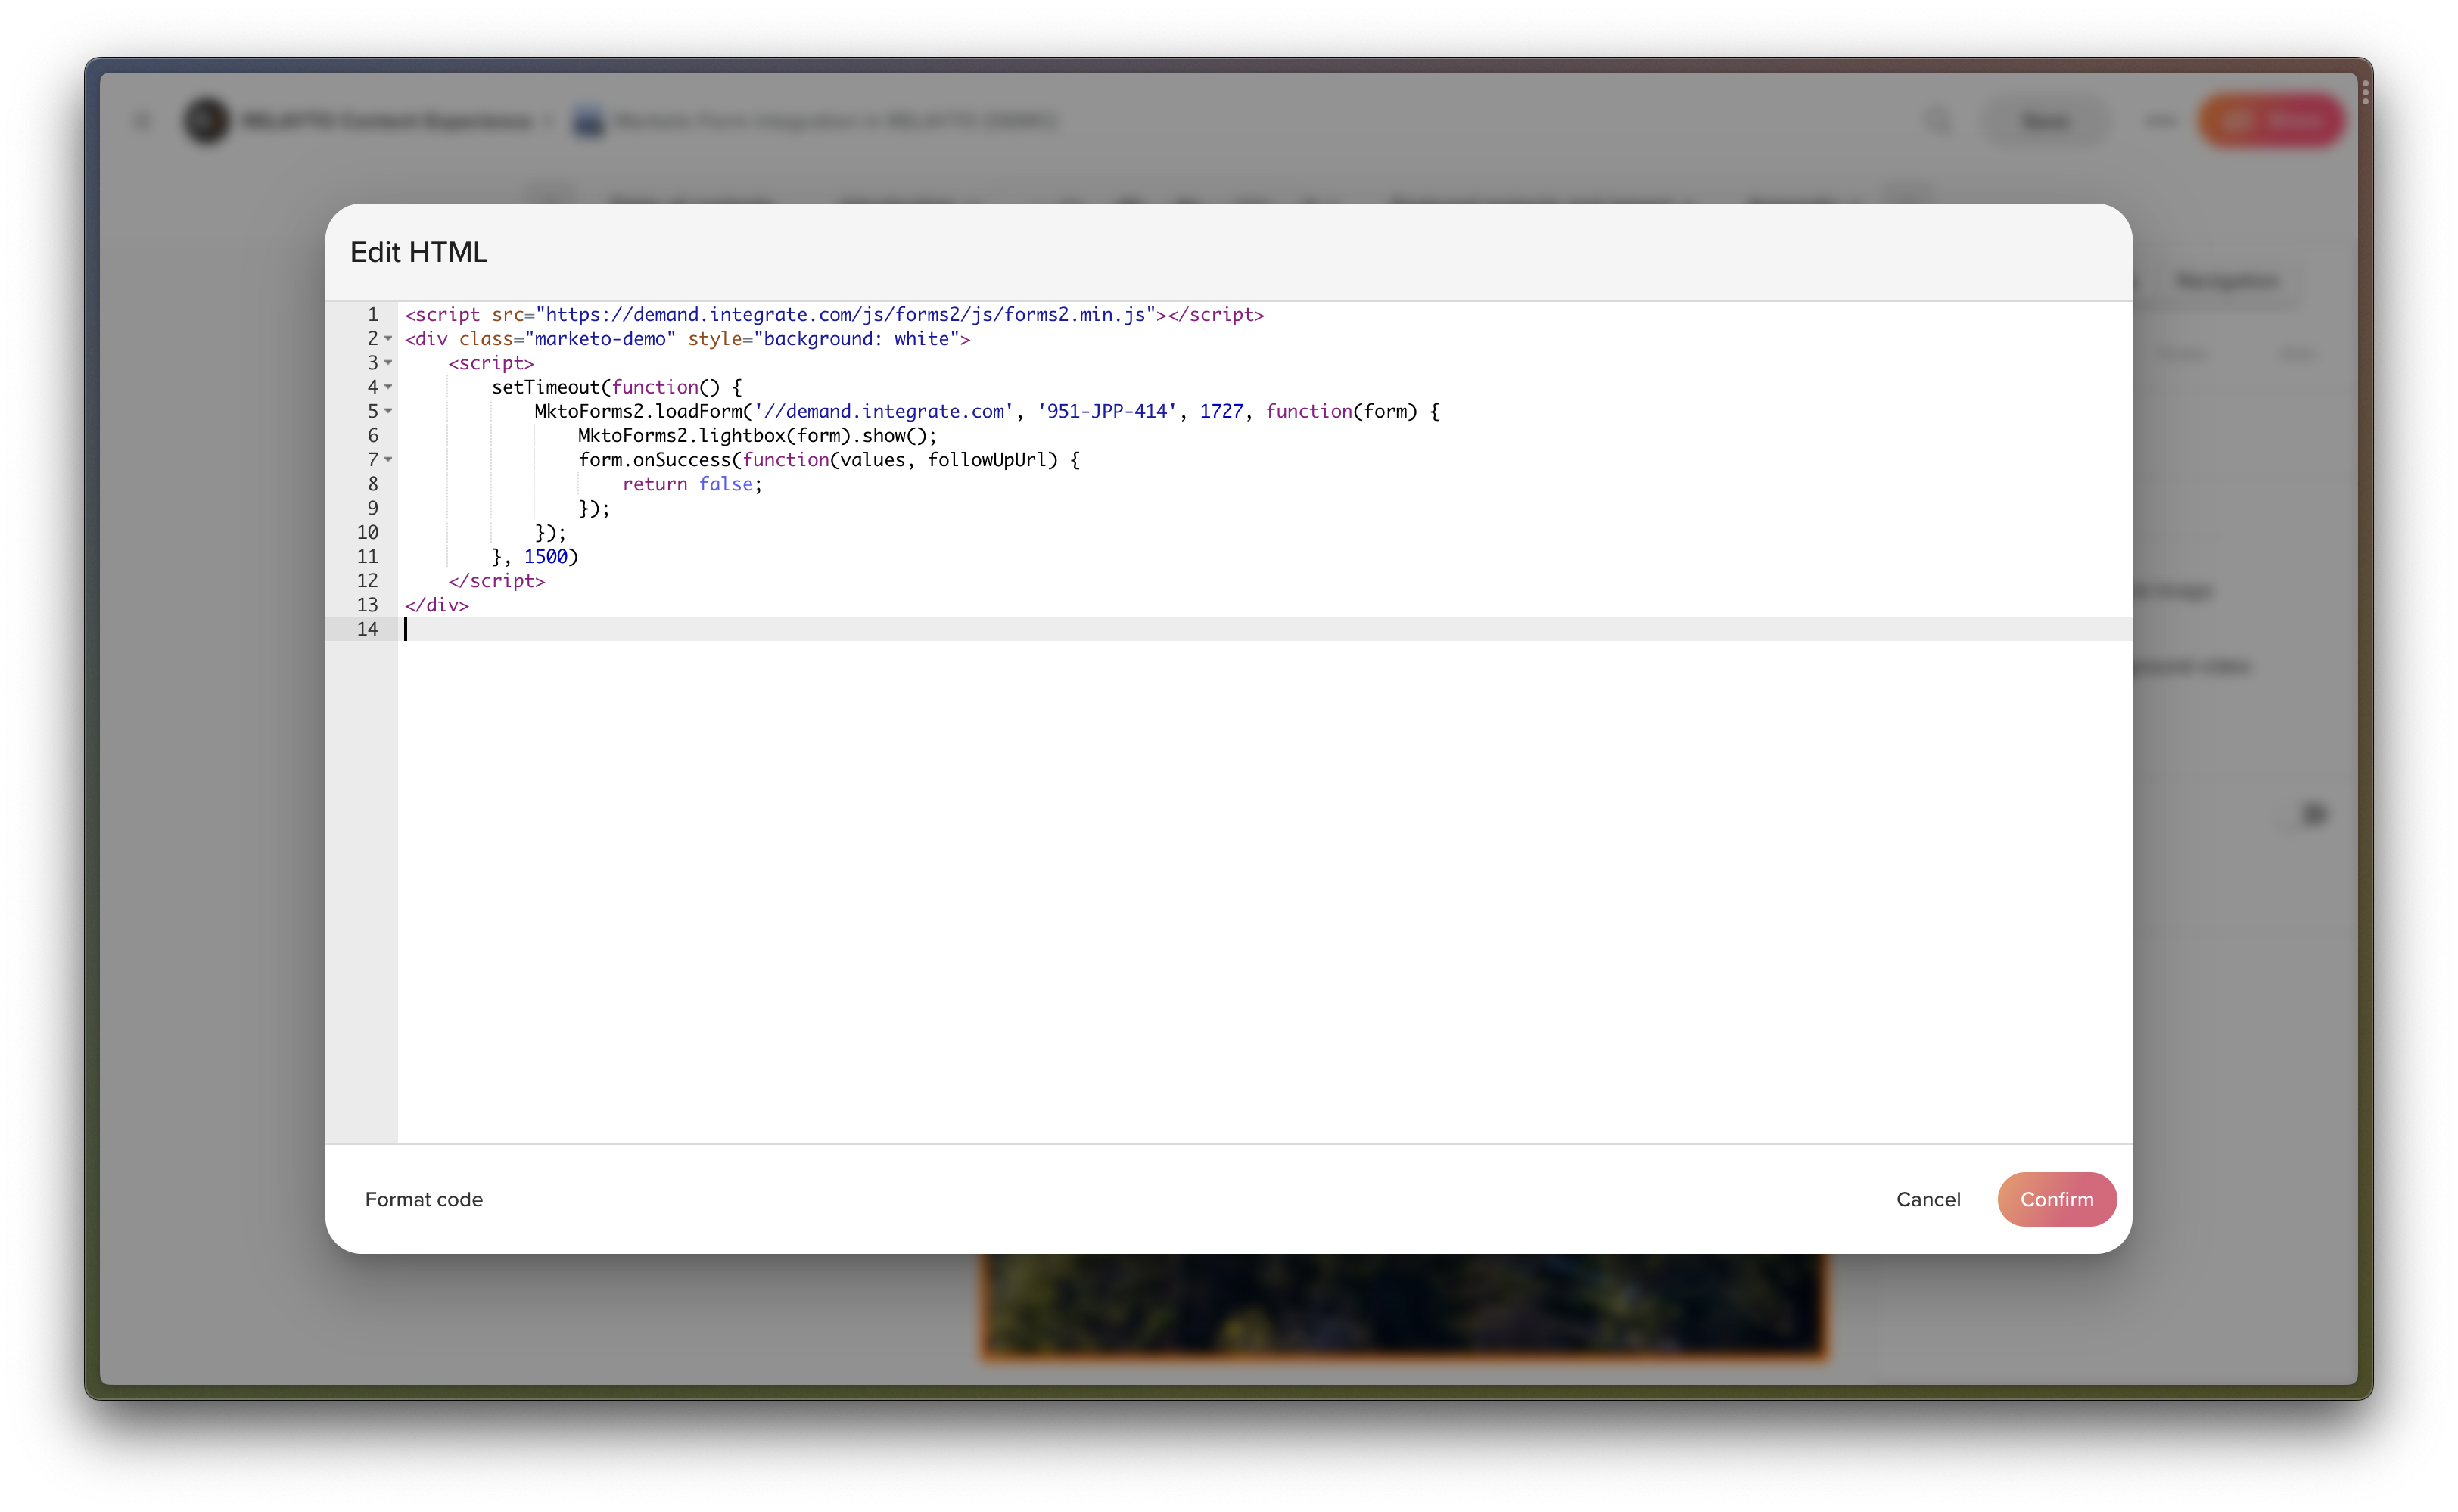
You need to modify the embed code in order for the form to open in the lightbox. Here is the final code that you should use in RELAYTO. Please substitute MARKETO_BASE_URL, MARKETO_MUNCHKIN_ID & MARKETO_FORM_ID to your values.
<script src="//app-ab**.marketo.com/js/forms2/js/forms2.min.js"></script>
<script>

    // UPDATE THESE VALUES

    // Get this from the Marketo form embed code
    var MARKETO_BASE_URL = "//app-****.marketo.com";
    var MARKETO_MUNCHKIN_ID = "875-JTE-***";
    var MARKETO_FORM_ID = 1562;

    // RELAYTO URL on which to show the form
    // Empty URL means to show the form on the first page
    var RELAYTO_URL = '';

    // Set the timeout in milliseconds when the form should be shown
    // Should not be less than 1.5 seconds
    var FORM_LOADING_TIMEOUT = 1500;

    // Show/hide close button on the form
    var FORM_CLOSE_BUTTON = false;

    // Extra sub-header text that will be added to the form
    var FORM_SUBHEADER = '';

</script>
<script>

    // DO NOT MODIFY THIS CODE
    loadMarketoForm();

    function loadMarketoForm() {
        // Check for a cookie and return if found
        var COOKIE = document.cookie.match('(^|;) ?rt-marketo-form=([^;]*)(;|$)');
        if (COOKIE) return;
        // Check if URL is not present, show the form right away
        if (!RELAYTO_URL) return setTimeout(openMarketoForm, FORM_LOADING_TIMEOUT);

        // Monitor URL changes
        // If the URL changes, check if the new URL contains the URL we want to show the form on
        // If it does, show the form
        // If it doesn't, do nothing
        var contentIdTrigger = getContentId(RELAYTO_URL);
        var contentPageIdTrigger = getContentPageId(RELAYTO_URL);

        var currentUrl = window.location.href;
        var observer = new MutationObserver(function(mutations) {
            if (window.location.href != currentUrl) {

                var contentId = getContentId(window.location.href);
                var contentPageId = getContentPageId(window.location.href);

                // If the URL contains the URL we want to show the form on, show the form
                if(contentId == contentIdTrigger){
                    if(contentPageId == contentPageIdTrigger){
                        observer.disconnect();
                        return setTimeout(openMarketoForm, FORM_LOADING_TIMEOUT);
                    }
                }
                // If we navigate to a different content, remove the observer
                else {
                    observer.disconnect();
                }
            }

        });
        observer.observe(document.querySelector('body'), {
            childList: true,
            subtree: true,
        });
    }

    function getContentId(contentUrl) {

        // Remove protocol and query string if exist from URL
        contentUrl = contentUrl.replace(/(^\w+:|^)\/\//, '');
        contentUrl = contentUrl.split('?')[0];

        // Get the 3rd value from the URL which is the content slug
        var contentSlug = contentUrl.split('/')[2];

        if(!contentSlug) return null;

        // Split by "-" and get the last value which is the content ID
        var contentId = contentSlug.split('-').pop();

        return contentId;
    }

    function getContentPageId(contentPageUrl) {

        // Remove protocol and query string if exist from URL
        contentPageUrl = contentPageUrl.replace(/(^\w+:|^)\/\//, '');
        contentPageUrl = contentPageUrl.split('?')[0];

        // Get the last value from the URL which is the content page Id
        var contentPageId = contentPageUrl.split('/').pop();

        return contentPageId;
    }


    function openMarketoForm() {
        MktoForms2.loadForm(MARKETO_BASE_URL, MARKETO_MUNCHKIN_ID, MARKETO_FORM_ID, function(form) {
            MktoForms2.lightbox(form).show();

            if (FORM_SUBHEADER) {
                addHeader(FORM_SUBHEADER);
            }
        })
        if (!FORM_CLOSE_BUTTON) {
            const STYLE = document.createElement('style');
            STYLE.innerHTML = '.mktoModalClose { display: none; }';
            document.head.appendChild(STYLE);
        }
    }

    function addHeader(header) {
        let formHeader = document.getElementsByClassName('form_header')[0];
        if (!formHeader) return;
        const newEl = document.createElement('h4');
        const newHeader = document.createTextNode(header);
        newEl.appendChild(newHeader);
        formHeader.parentNode.insertBefore(newEl, formHeader.nextSibling);
    }

</script>

<style>
    .mktoModal .mktoModalContent {
        padding: 30px;
        border-radius: 30px;
        background: rgba(255, 255, 255, 0.85);
        box-shadow: 0 4px 30px rgba(0, 0, 0, 0.1);
        backdrop-filter: blur(9.7px);
        -webkit-backdrop-filter: blur(9.7px);
        border: 1px solid rgba(255, 255, 255, 0.51);
    }
</style>
To add a Marketo form to your content follow the steps below
- Login to your domain.
- On your domain dashboard, select the content that you want to gate.
- Click "Edit" button in the top right corner.
- Choose "Settings" in right side menu and choose "Styles"
- Select Custom HTML (beta)
- Insert Marketo script.
Your lead generation gate will show in the page overview if the setup is successful.
Styling your form
When you create a form in Marketo to use in your RELAYTO experience, there are limited styling options in RELAYTO. However, Marketo allows you to customize your form to suit your needs.
💡 Learn more in Marketo's documentation: Edit the CSS of a Form Theme.
In addition to Marketo pre-built themes, you can apply styling by inserting custom CSS code into the RELAYTO content custom CSS settings.
⚠️ Any custom code that has been implemented is the responsibility of the creator. Although this feature is easy to use, ensure you know your custom code inside out. If you're not very experienced with coding, we don't recommend using this feature.
Returning visitors
RELAYTO places a cookie that remembers whether a visitor has passed your lead generation gate for a specific RELAYTO content experience. This means that if visitors reopen a gated experience they’ve already completed, they won’t have to submit the Marketo form again — assuming they visit from the same device and browser.
This cookie is stored for that specific content and isn’t linked to the form used to gate. So, even if you swap out the form, returning visitors will not have to submit the new form.
💡 Some visitors might use browsers or browser extensions that delete cookies automatically. In this case, these visitors might have to fill in your lead generation form every time they visit your RELAYTO Experience.
Example
Marketo form is shown on the 1st page
Marketo form is shown on the 5th page
If you have any questions please reach out to [email protected]