RELAYTO empowers you to create dynamic and engaging content experiences, but what good is it if you can't share it with the world? Here's a comprehensive guide on how to share your creations.
How to Share
Experience
Click the Share button on top middle.
.png)
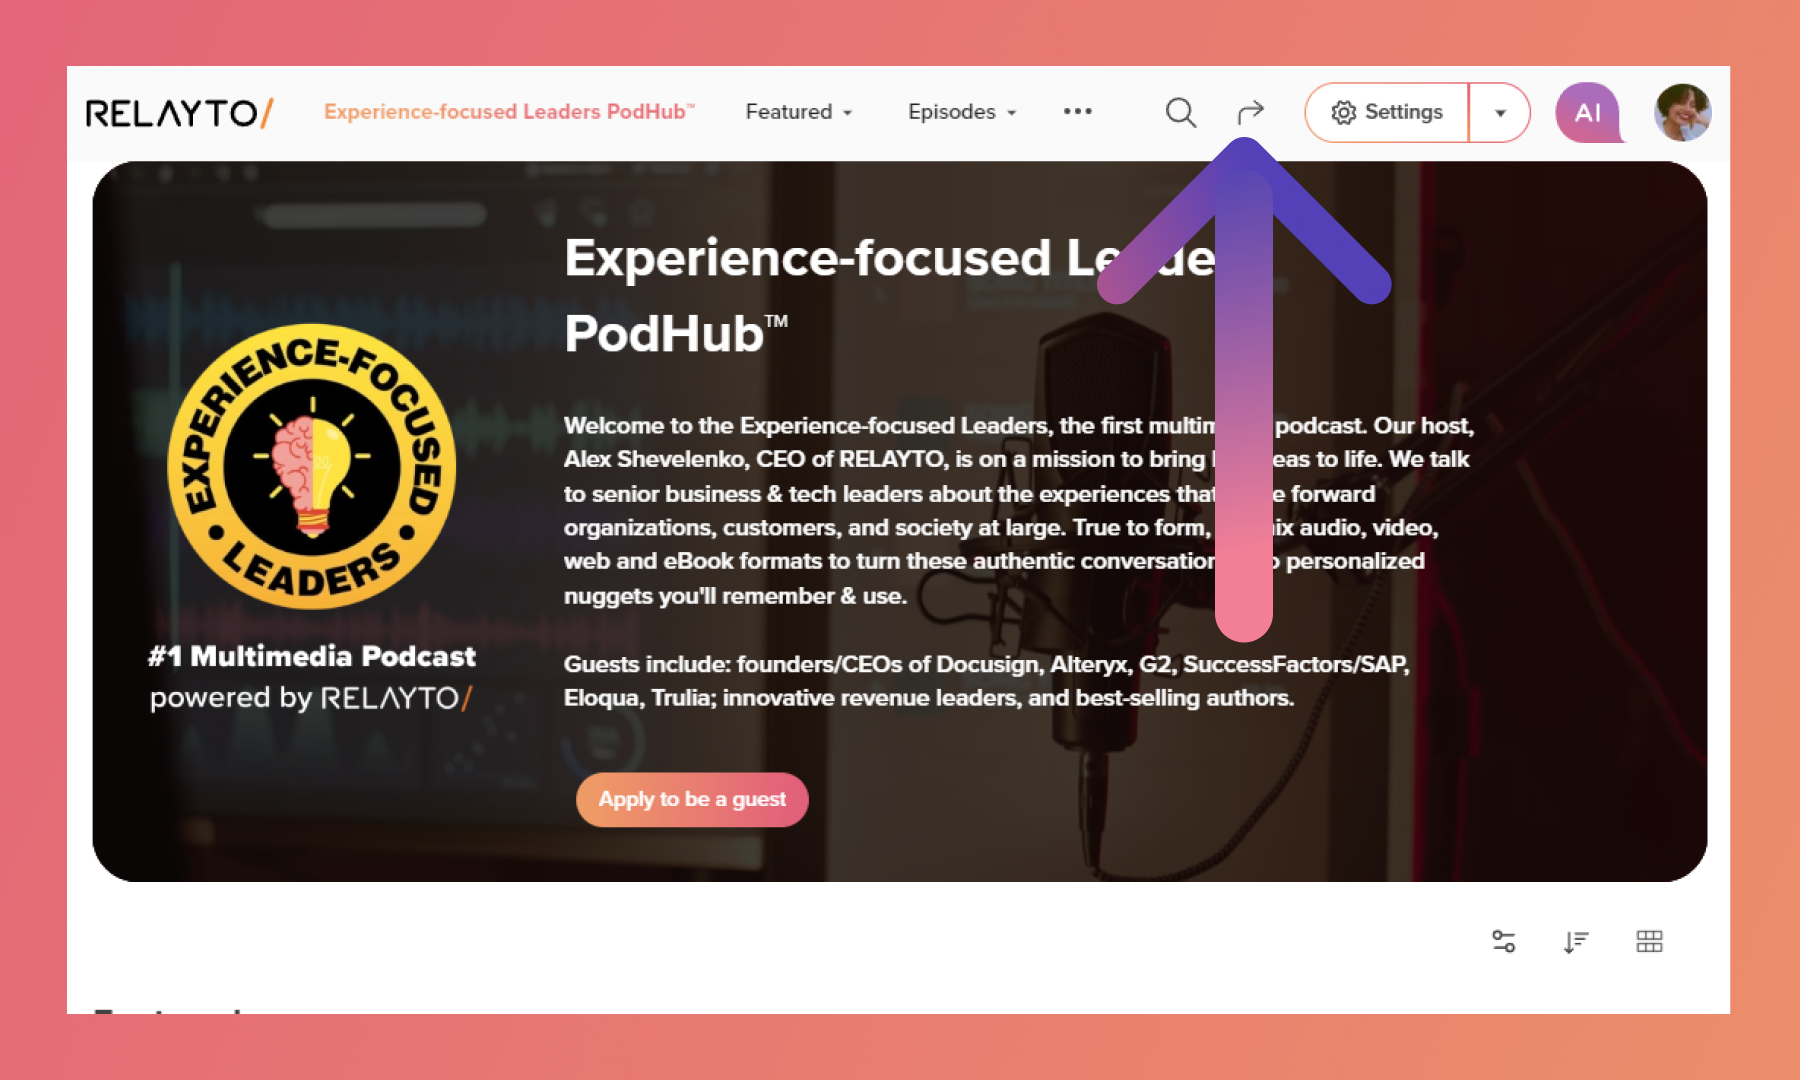
Hub
Click the Share button on top middle.

Share Tab
Here you can edit privacy settings; share your experience in social medias or by using the link; change thumbnail and more. Let's understand each part separately.
Sharing a Specifical Page
There's two ways of doing that. First, copy the URL directly from your web browser's address bar. When viewers click it, they'll land directly on the specific page you shared.
Or check the box "Start at page", and input the page you want to be displayed first.
.png)
Include Hub
If the experience you're going to be sharing is inside a hub, you can uncheck the box "Include hub" to prevent the user from accessing other content inside it.
.png)
Preview thumbnail for email
It works as an image that appears with a link to your experience when you share it via email.
💡 Tips: For this thumbnail, record a video walking through the experience,
(i.e. Loom is a simple tool to record and share walkthroughs)
Step 1
Click "Copy" and the preview will be copied to your clipboard.
.png)
Step 2
Copy the preview into an email draft using CRTL+V.
.png)
Changing the Image
You can edit the preview image/GIF by uploading a new file.
To understand How to Update a Thumbnail - Cover Image, click here.
.png)
Click "Email" and it'll be redirected to your email account with the link on the content.
.png)
Embed
Click "Embed" and an iframe code will be copied to your clipboard.
To understand How to Embed RELAYTO click here.
.png)
Copy Link
Click "Copy Link" to have the experience's link copied to your clipboard.
.png)
Social Medias
RELAYTO offers buttons to share directly to LinkedIn, Twitter/X or Facebook. But you can share it inside other platforms too! For it, use the copy link option instead.
.png)
People Tab
Here you can directly give or revoke permission to another user to view, edit or comment your content. When a content is inside a company subdomain, you can also edit how the other users there can view your content.
To understand User Roles and Permissions, click here.
.png)
Tracking Links Tab
Send your content with a personalized messages to your readers, create custom URLs, receive notification when they open the document and track their analytics individually.
To understand How to Use Tracking Links, click here.
.png)
How to Enable/Disable Sharing
You can hide the share button if you don't want visitors to be able to share your content.
Step 1
Click "Settings" button in the top right corner.
.png)
Step 2
Scroll the menu until you find the "Advanced" button, then click on it.
.png)
Step 3
Enable or disable the option "Allow visitors to share".
.png)
Related Articles:
Thank you for joining us in this tutorial! If you have any questions or need help, feel free to email us at [email protected] or book a call here.