Once you upload your content to RELAYTO, it automatically enhances content to ensure optimal viewing and engagement. But don't worry, you're still in the driver's seat! The Settings menu allows you to personalize your content further and tailor it to your specific needs.
Main settings
.png)
Once your content is uploaded, you might want to update its title and add a description. It can be done by clicking on Details. If you decide to make your content Public, make sure you use keywords in the description and title to ensure a higher SEO rank.
Enhancements
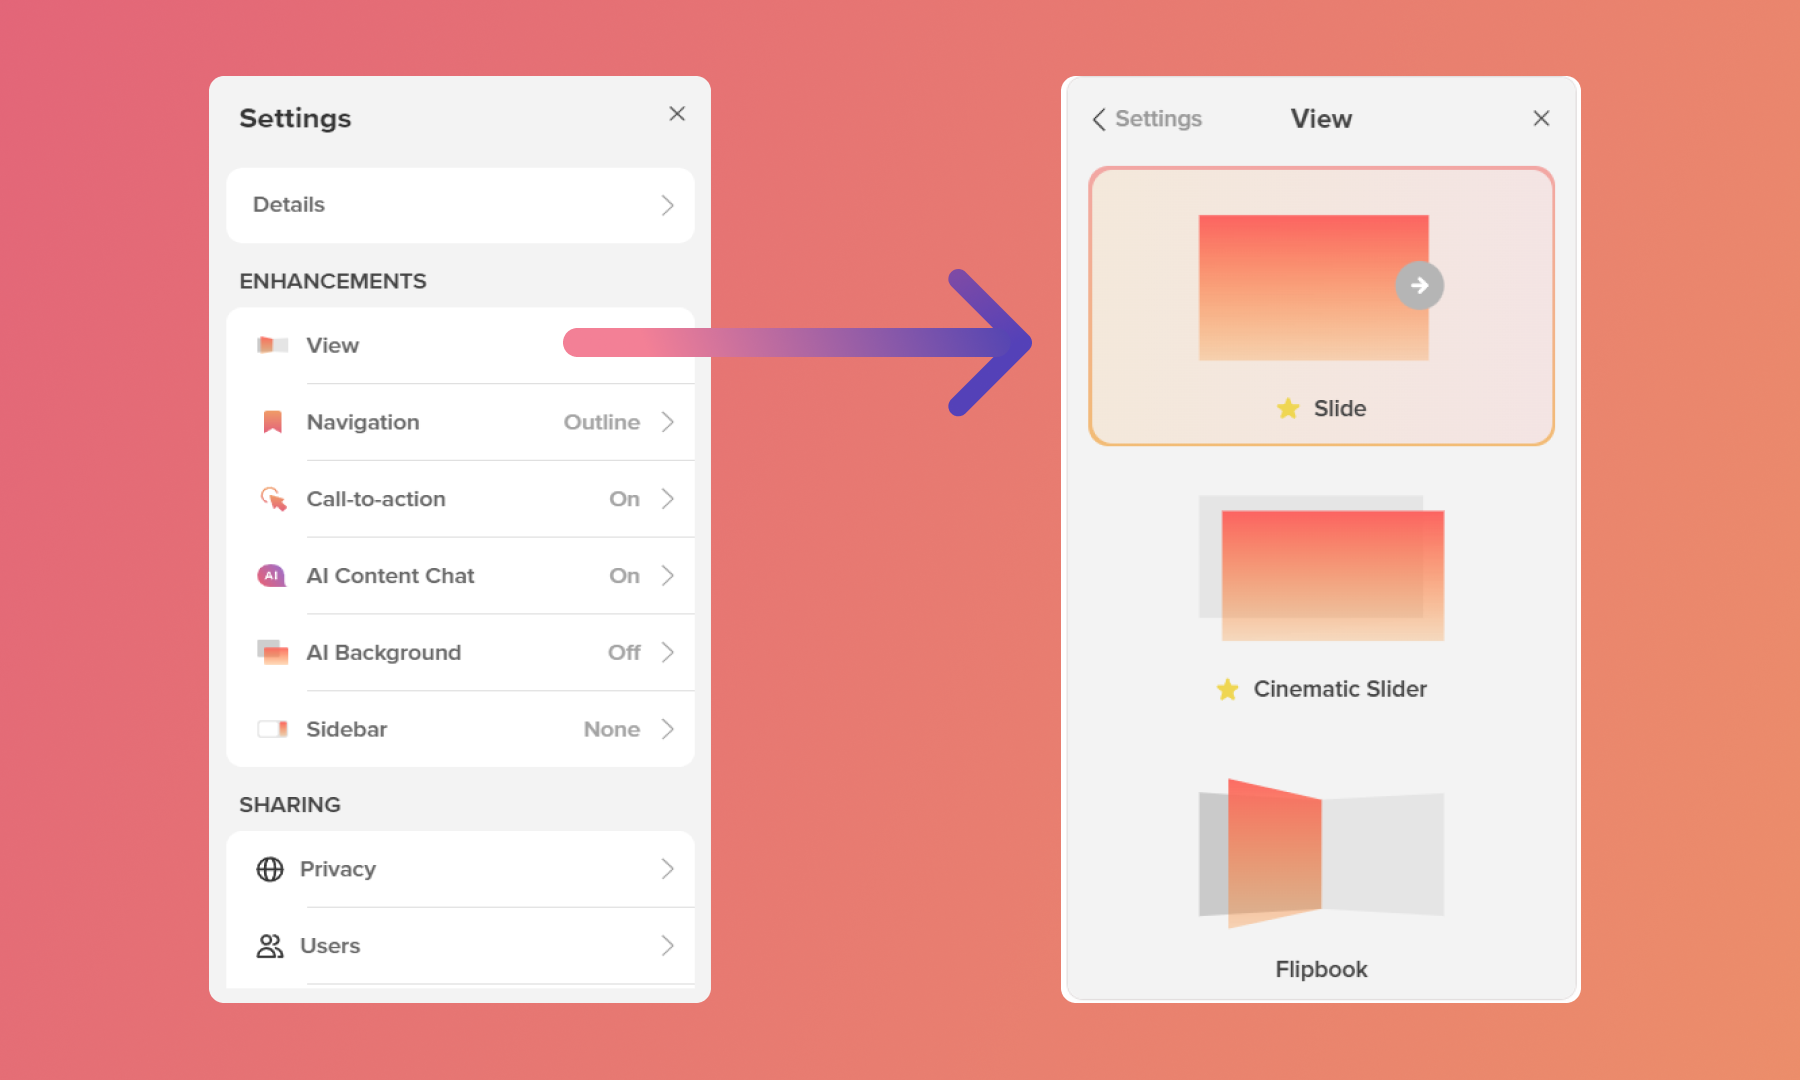
View
RELAYTO applies the best view by analyzing your content, but you can always switch it to another. Select one of our nine views that seamlessly create a dynamic and engaging flow for your viewers. Not sure which view to choose? Learn about views here.
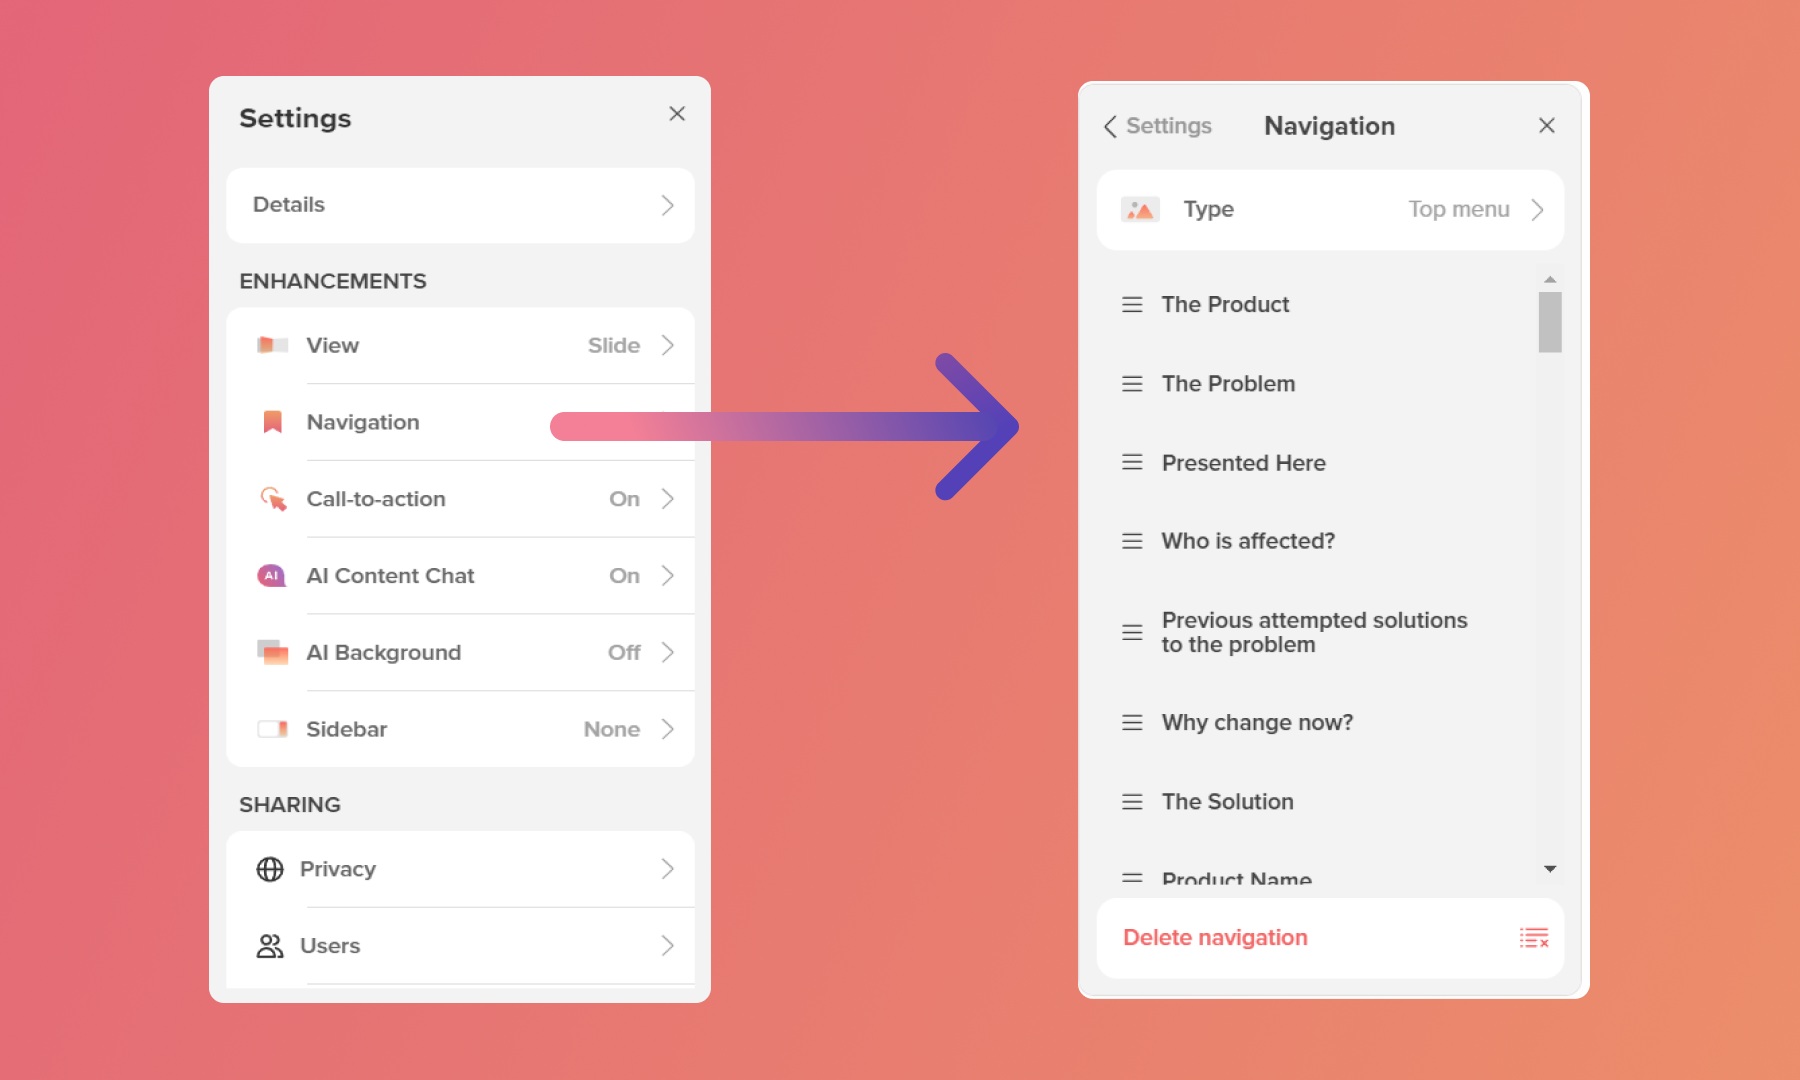
Streamlined Navigation
Ensure a smooth user journey by creating a customized navigation path. This allows viewers to effortlessly explore your content at their own pace. Learn about navigation here.
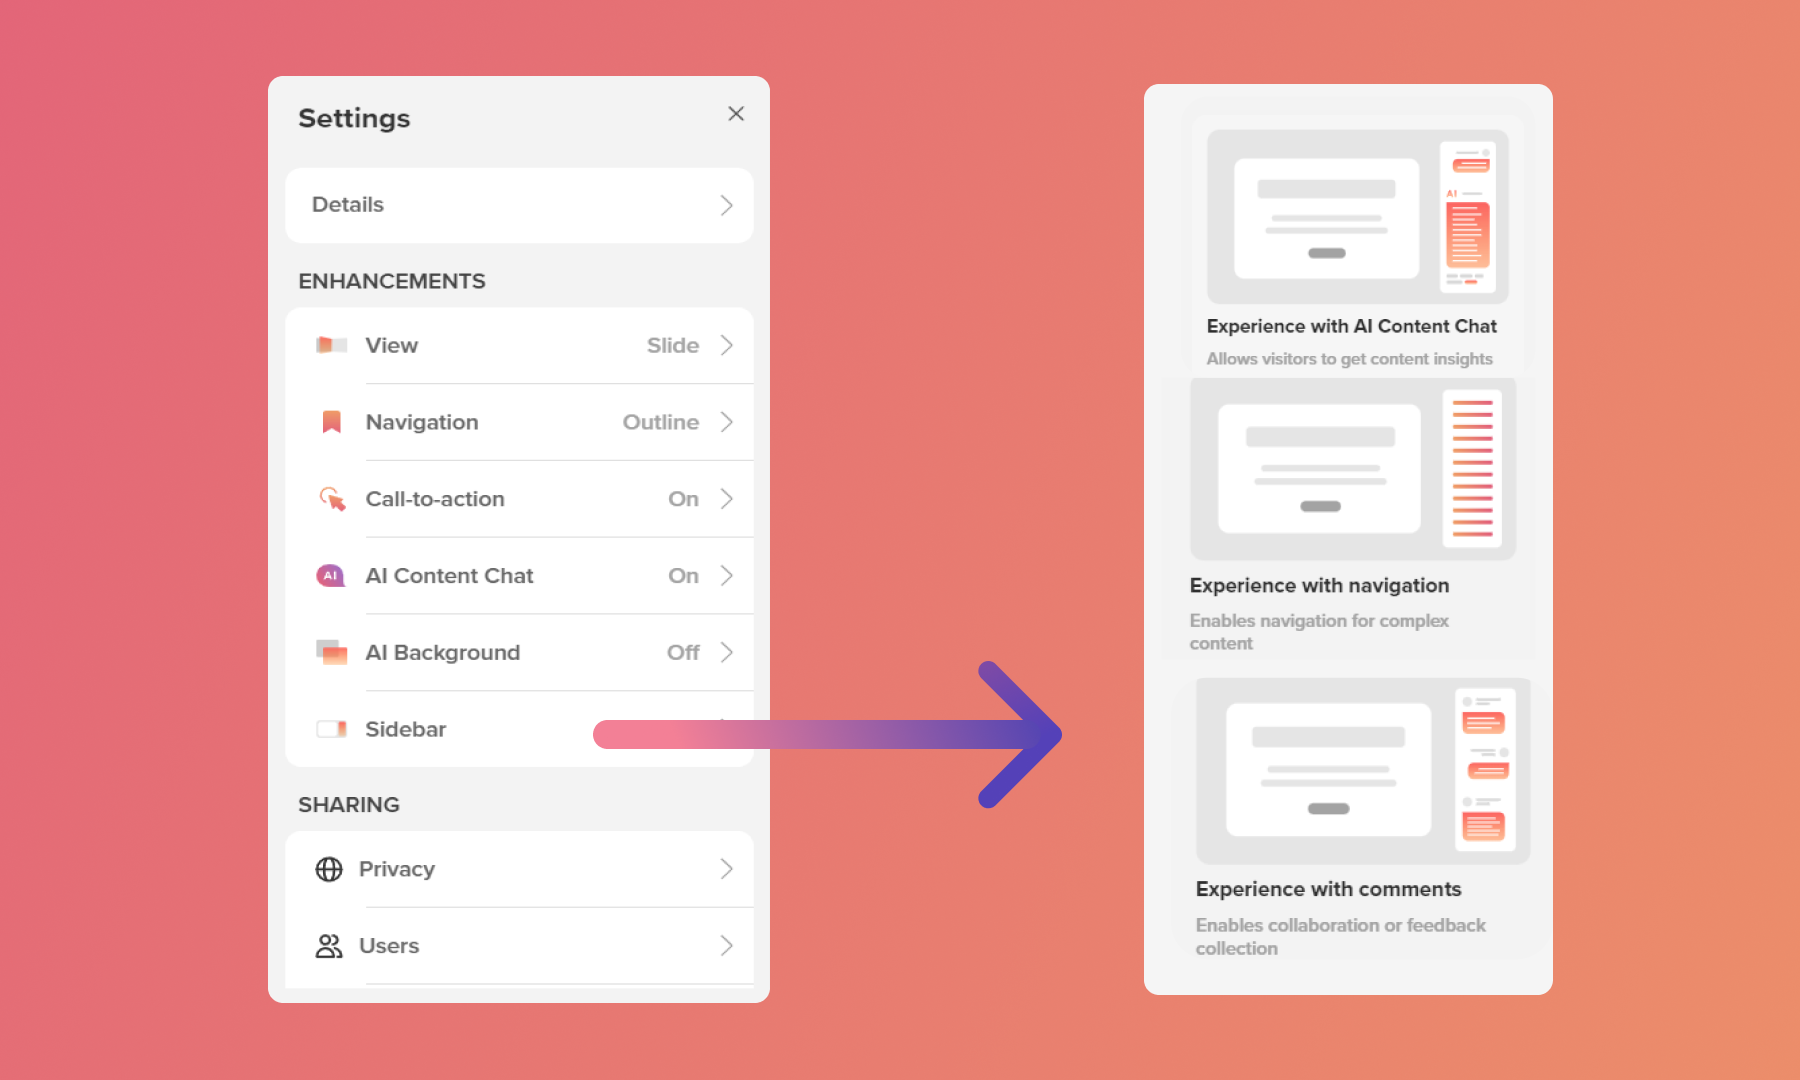
Interactive Sidebar
Fine-tune the settings for your Call to Action (CTA) button, AI Chatbot, and choose the default sidebar view. These elements offer valuable interactive touchpoints for your audience.
AI-powered Backgrounds
Let RELAYTO AI set the scene! Choose from a selection of stunning AI-generated backgrounds that perfectly complement your content.
.gif)
Sharing
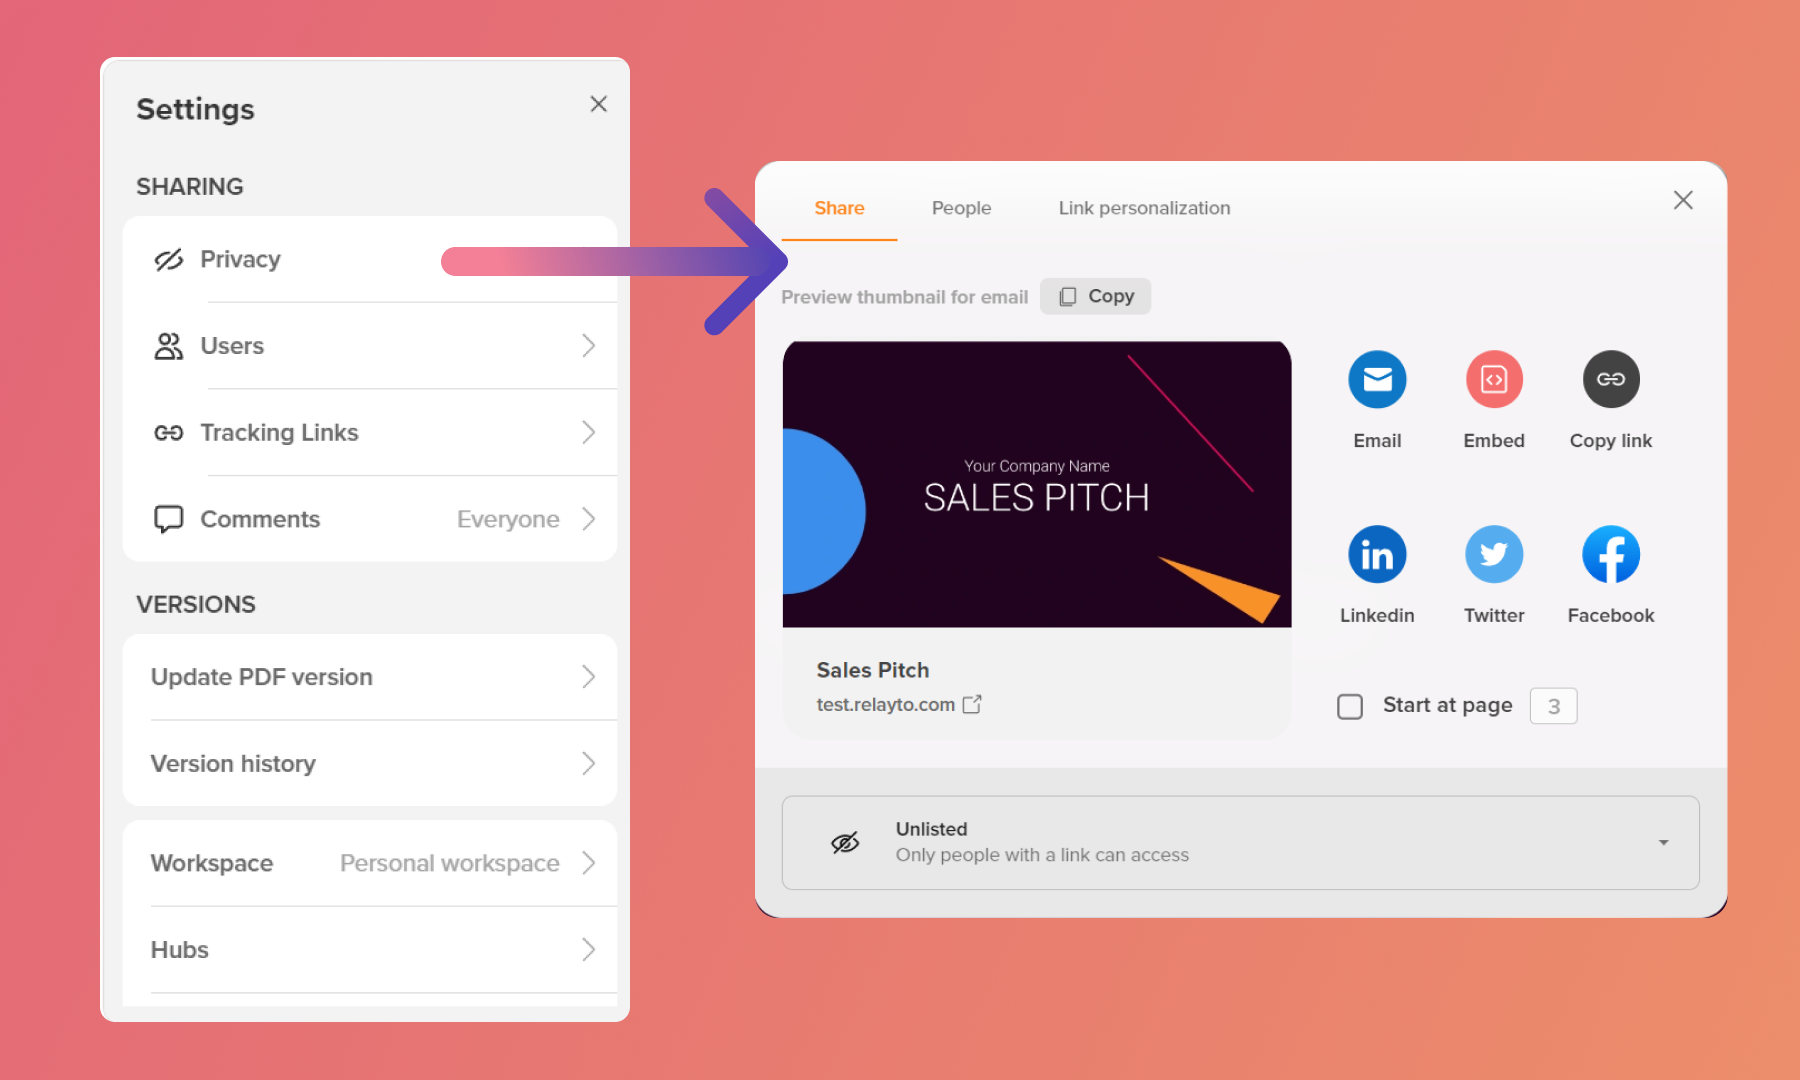
Privacy
Select the best privacy setting for your content according to your use case. Choose Public to let people find the content in search engines, require email to view for gathering leads, Unlisted so only people with the link can access, Private or Password protected to ensure that only some particular people can access the content. Read more about each of the settings here.
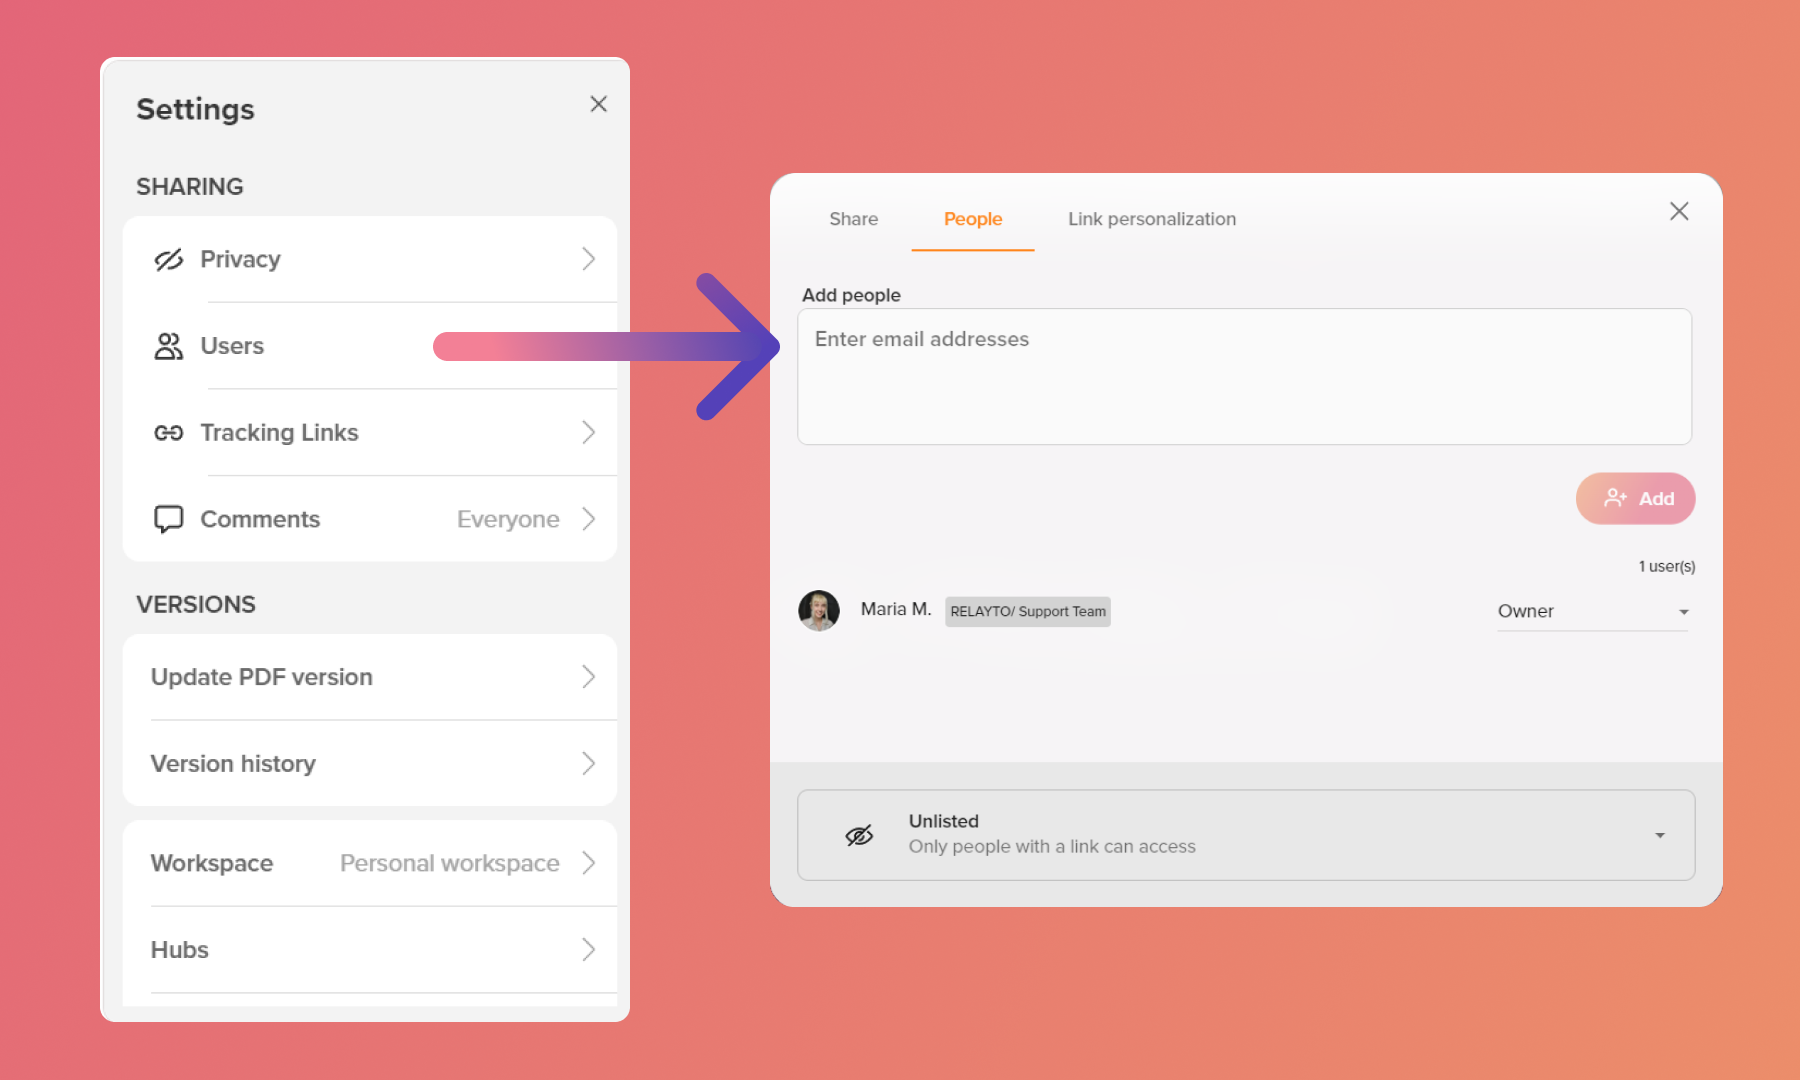
Users
Manage who has access to your content. Invite people, provide them with different access levels, manage them and collaborate. Explore our roles guide by clicking here.
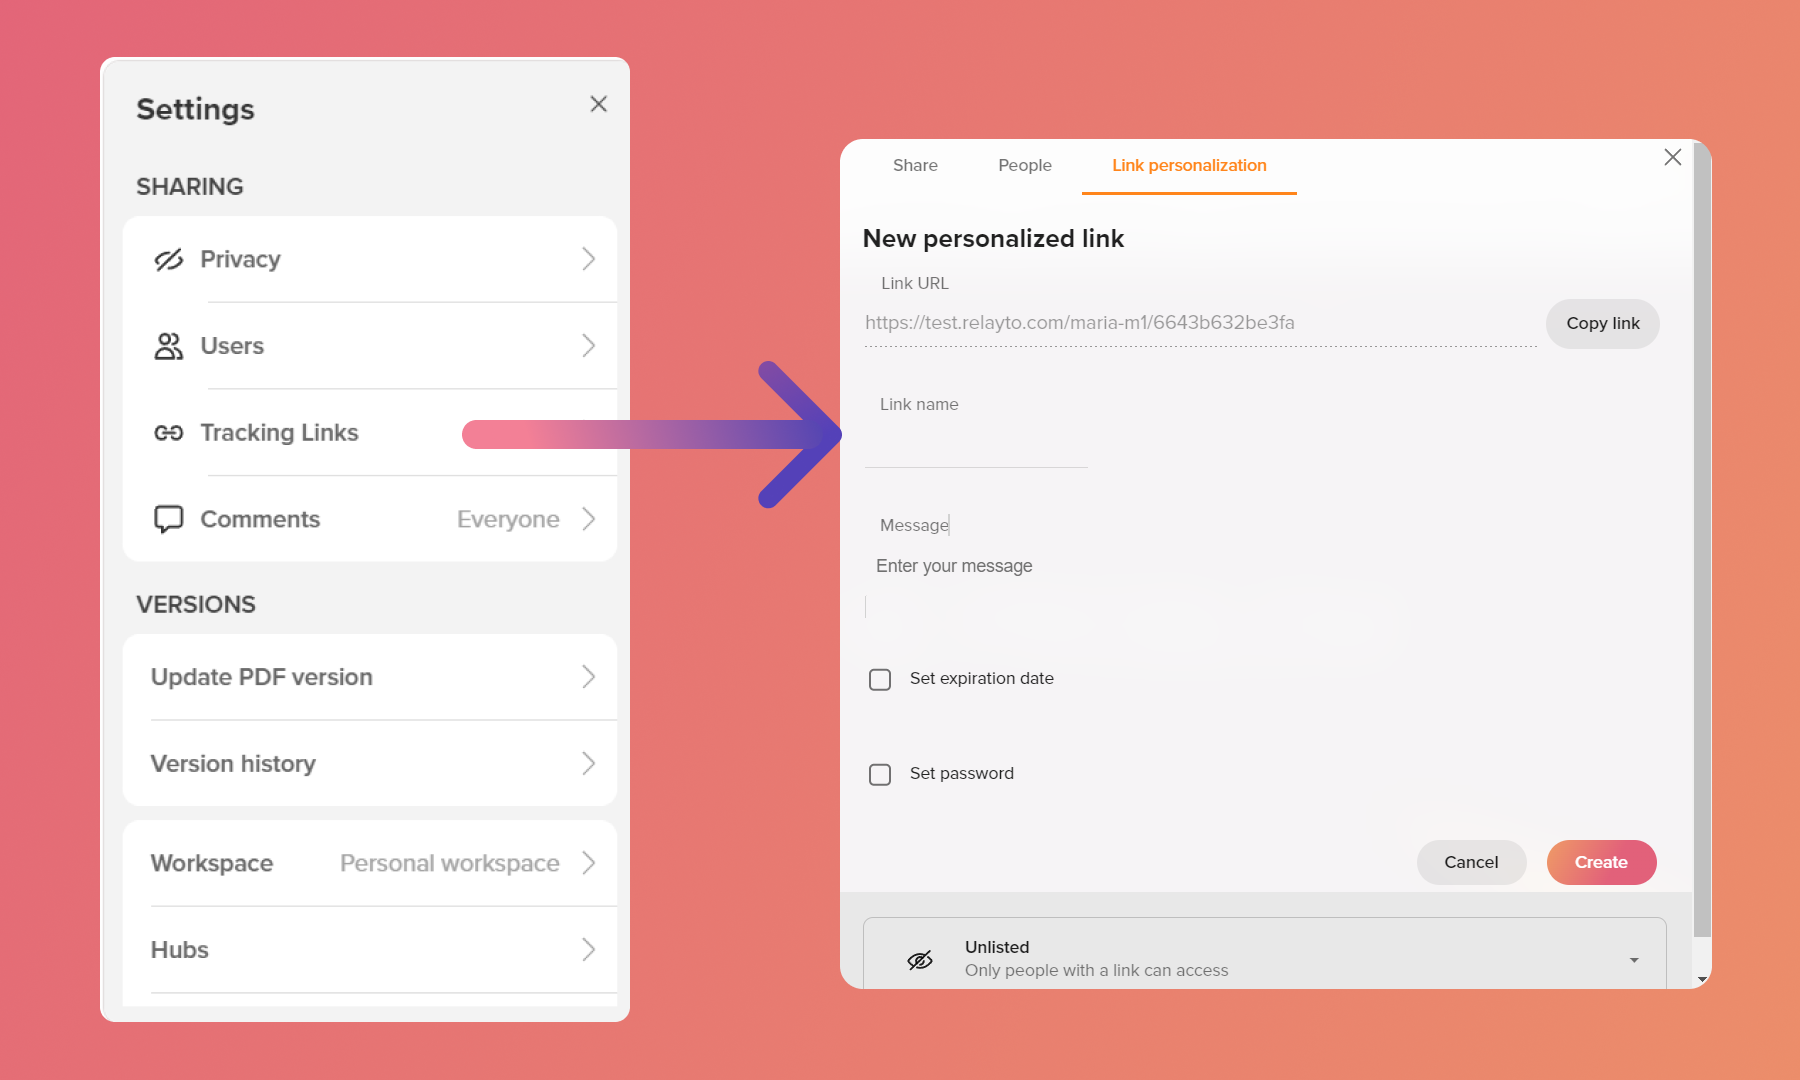
Tracking links
Create personalized links for engagement tracking. Adjust settings, set up personalized messages and share the links with the customer or prospect to see how they interact, what they are interested in and more. All data that was collected will later be found in the analytics section of your content. Explore our guide about tracking links here.
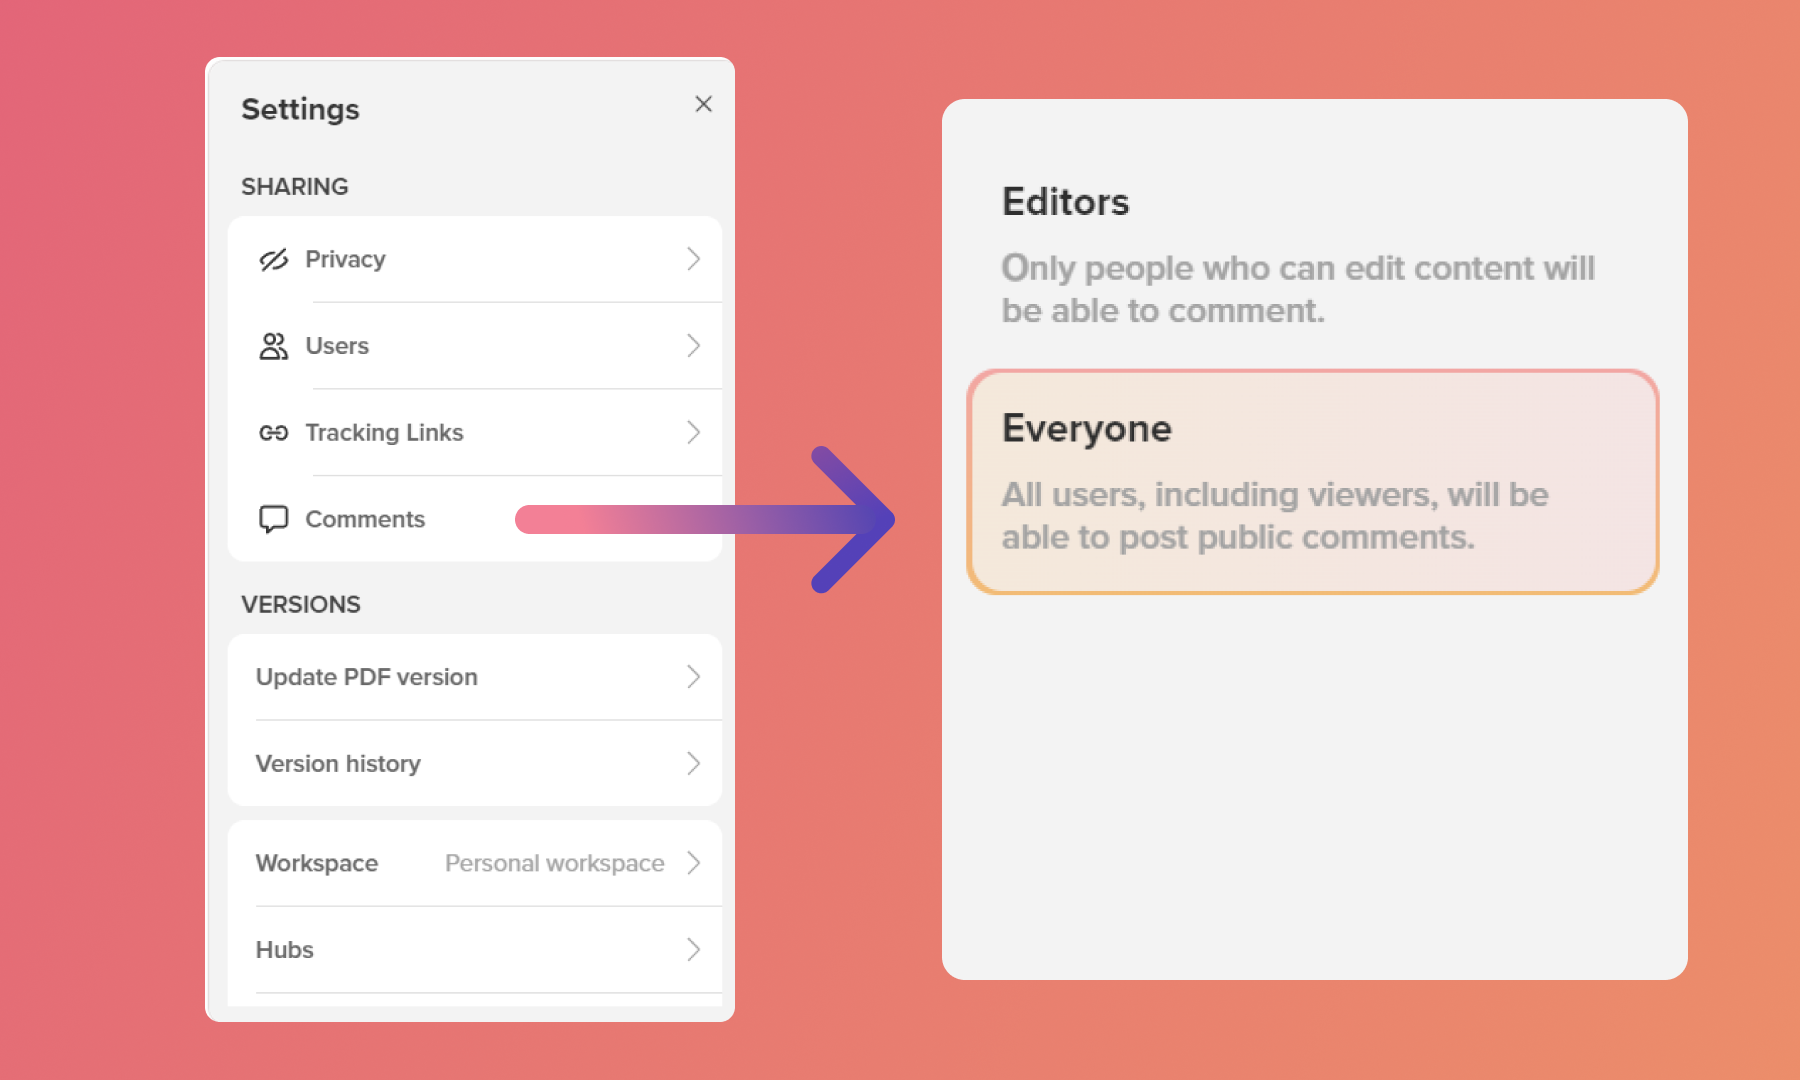
Comments
Collaborate internally or externally. Decide who can see comments and who can comment. You can also use comments to communicate with your audience – just leave notes and set comments to "Everybody can see".
Versions
Update PDF and version control allow you to never lose progress and avoid starting from scratch. Select the Update PDF version to choose the adjusted PDF, whether you change the text, images or anything else. Switch between different versions and backup the old ones. Learn about version history and how to update your content in our guides.
Advanced
Workspace
Use this feature if you need to move content from one workspace to another, company or personal one. Want to change the location of your content? Visit our tutorial here.
Hubs
Quickly create content collections by adding content to existing or new hubs. Explore more about hubs in our guides here.
More advanced settings
Choose if people can share or download your content, select page progress setting and more.
Related Articles:
Thank you for joining us in this tutorial! If you have any questions or need help, feel free to email us at support@relayto.com or book a call here.