Step 1
Open the template (in Google Slides | RELAYTO). Every section has its page. On this dropdown, we have four sections, so there are four pages in total. You can always add more by duplicating the page and then changing the content.
.png)
Step 2
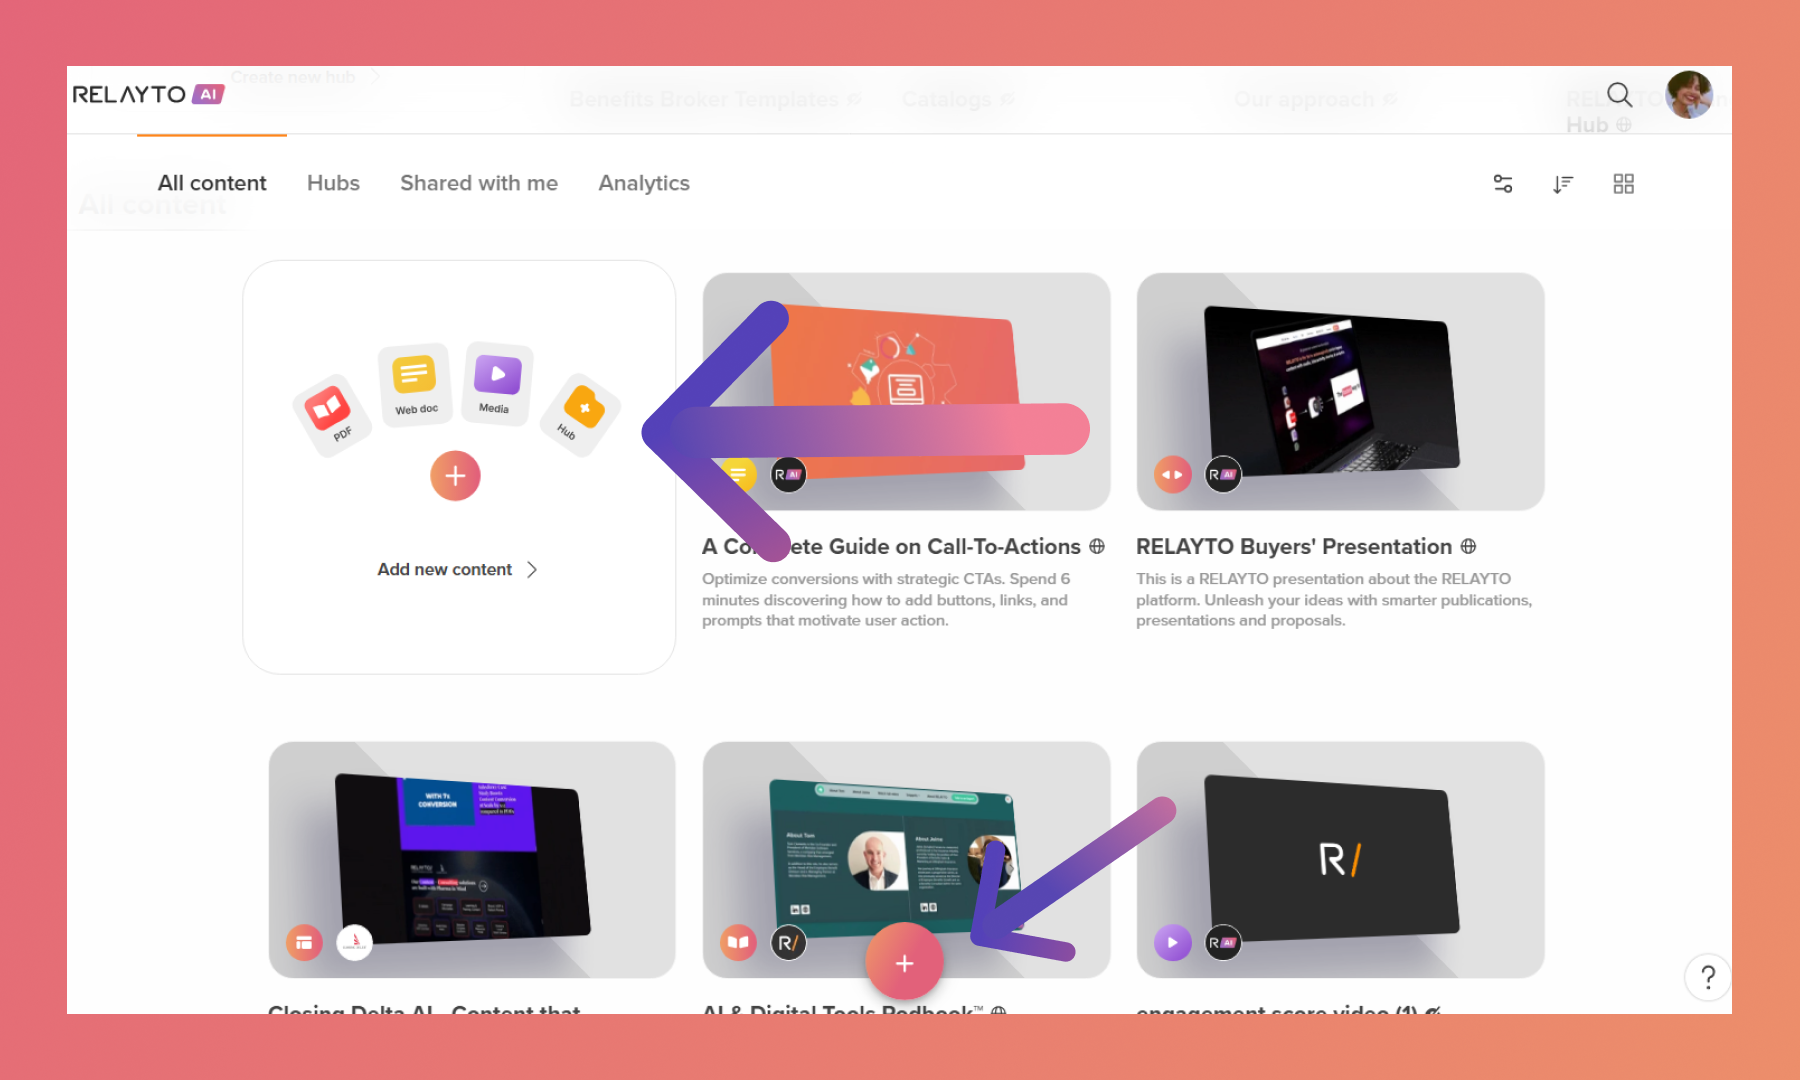
After the edits, download the Google Slides as PDF (go to File -> Download -> PDF Document (.pdf)) and upload it to RELAYTO.
Step 3
Click "Settings" and then "View" to be able to select "Cinematic Slider" to make the transition invisible.
💡Tips: To understand it better, click here: How to Change the View of Your Content
.png)
Step 4
To navigate between the pages using the arrows, we need to add go-to pages.
💡Tips: To understand how it works, click here: How to make an interactive table of contents.
Click on "Studio" in the top right corner and then the "Add Interactivity" menu icon. When the menu appears, choose the Rectangle shape.
.png)
Adjust the background color to opacity 0 so it'll have an invisible effect. Place the shape above the arrow.
.png)
With the arrow selected, click on the "Add Action on Click" tab in the right-side menu and choose "Go to page".
.png)
A popup will appear. Select the page that matches the topic and then click "Confirm" to save. Repeat it to all the arrows so it can be redirected to the right page.
.png)
Step 5
Click "Settings" and scroll the menu to find and click the "Advanced" button at the bottom.
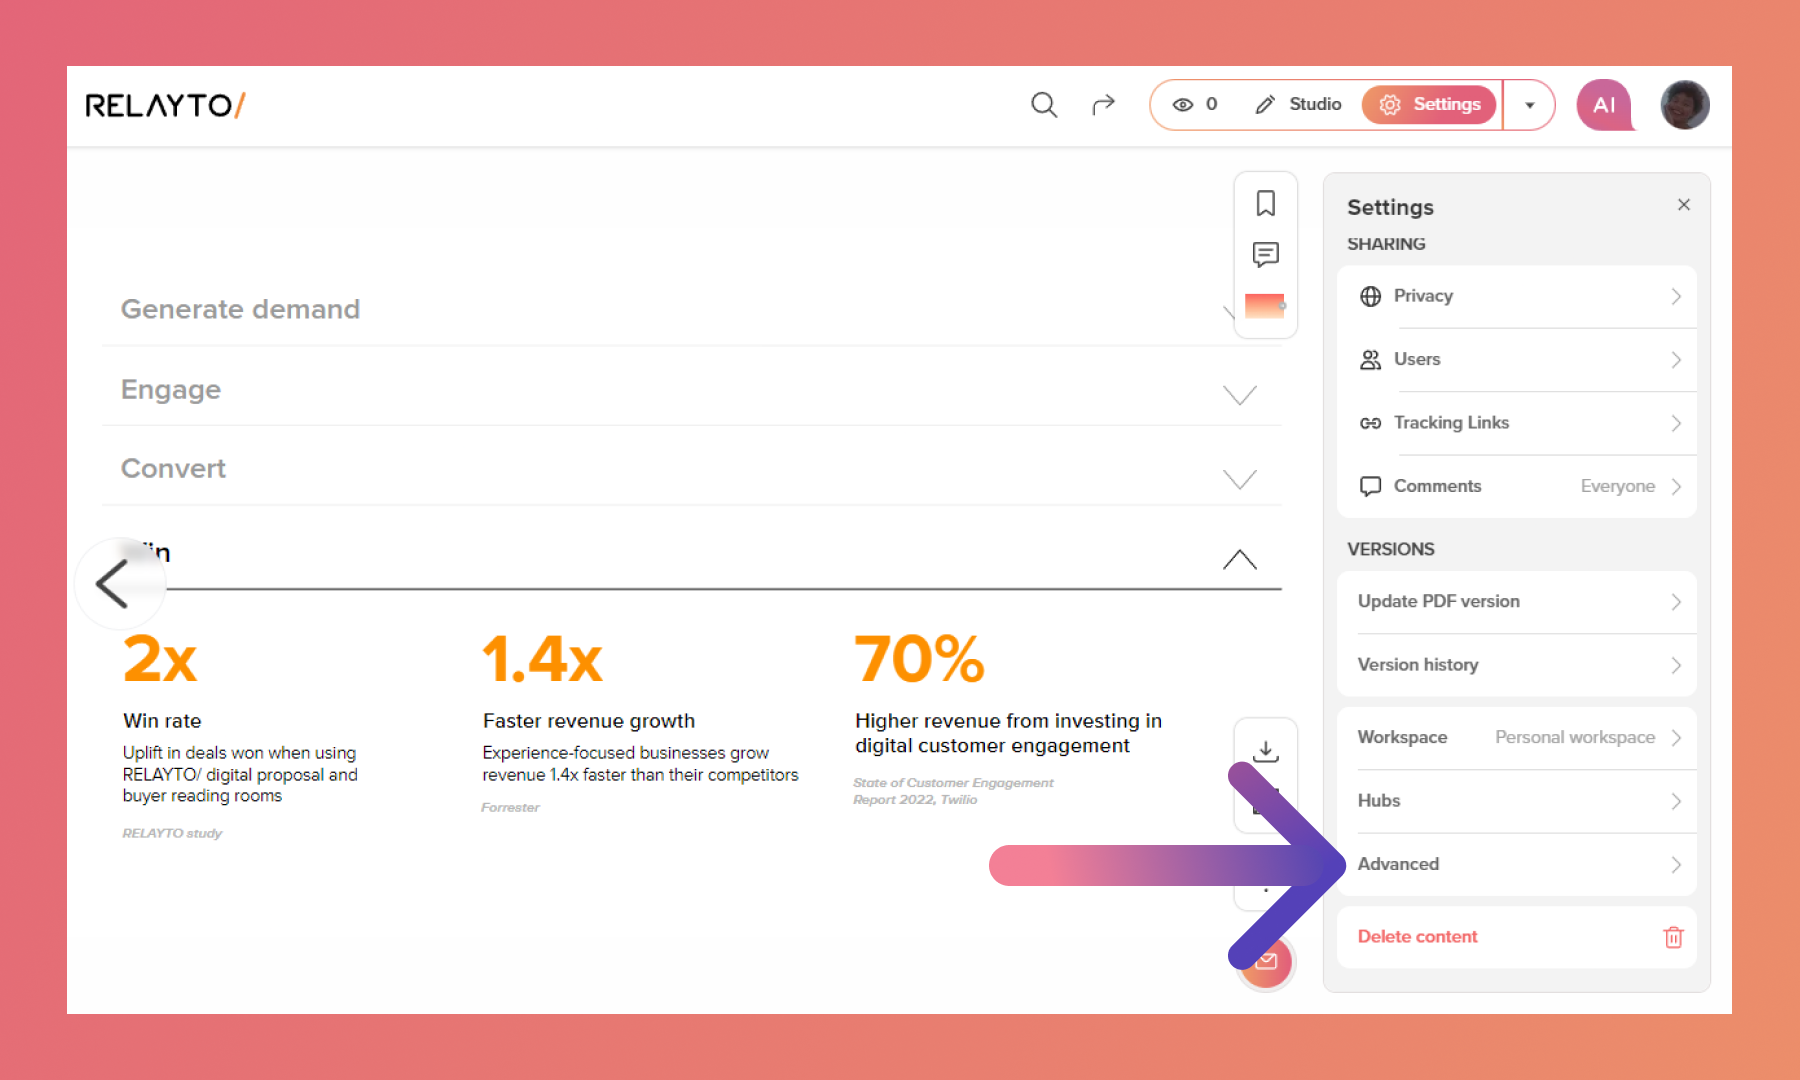
Find the "Navigation arrows" option and disable them to make navigation seamless.
.png)
Step 6
Embed your dropdown inside the experience you want.
💡Tips: To understand how to embed it, click here: How to embed widgets.
.png)
Related Articles:
Thank you for joining us in this tutorial! If you have any questions or need help, feel free to email us at support@relayto.com or book a call here.