Imagine a blog that doesn't just inform, but truly ignites engagement. A blog where static text comes alive with interactive elements, captivating visuals, and a seamless user experience. That's the magic of RELAYTO!
How to Create
Step 1
Click on the "Add New Content" button in the "All Content" tab of your dashboard. Or click the plus sign (+) in the middle of the screen at the bottom.
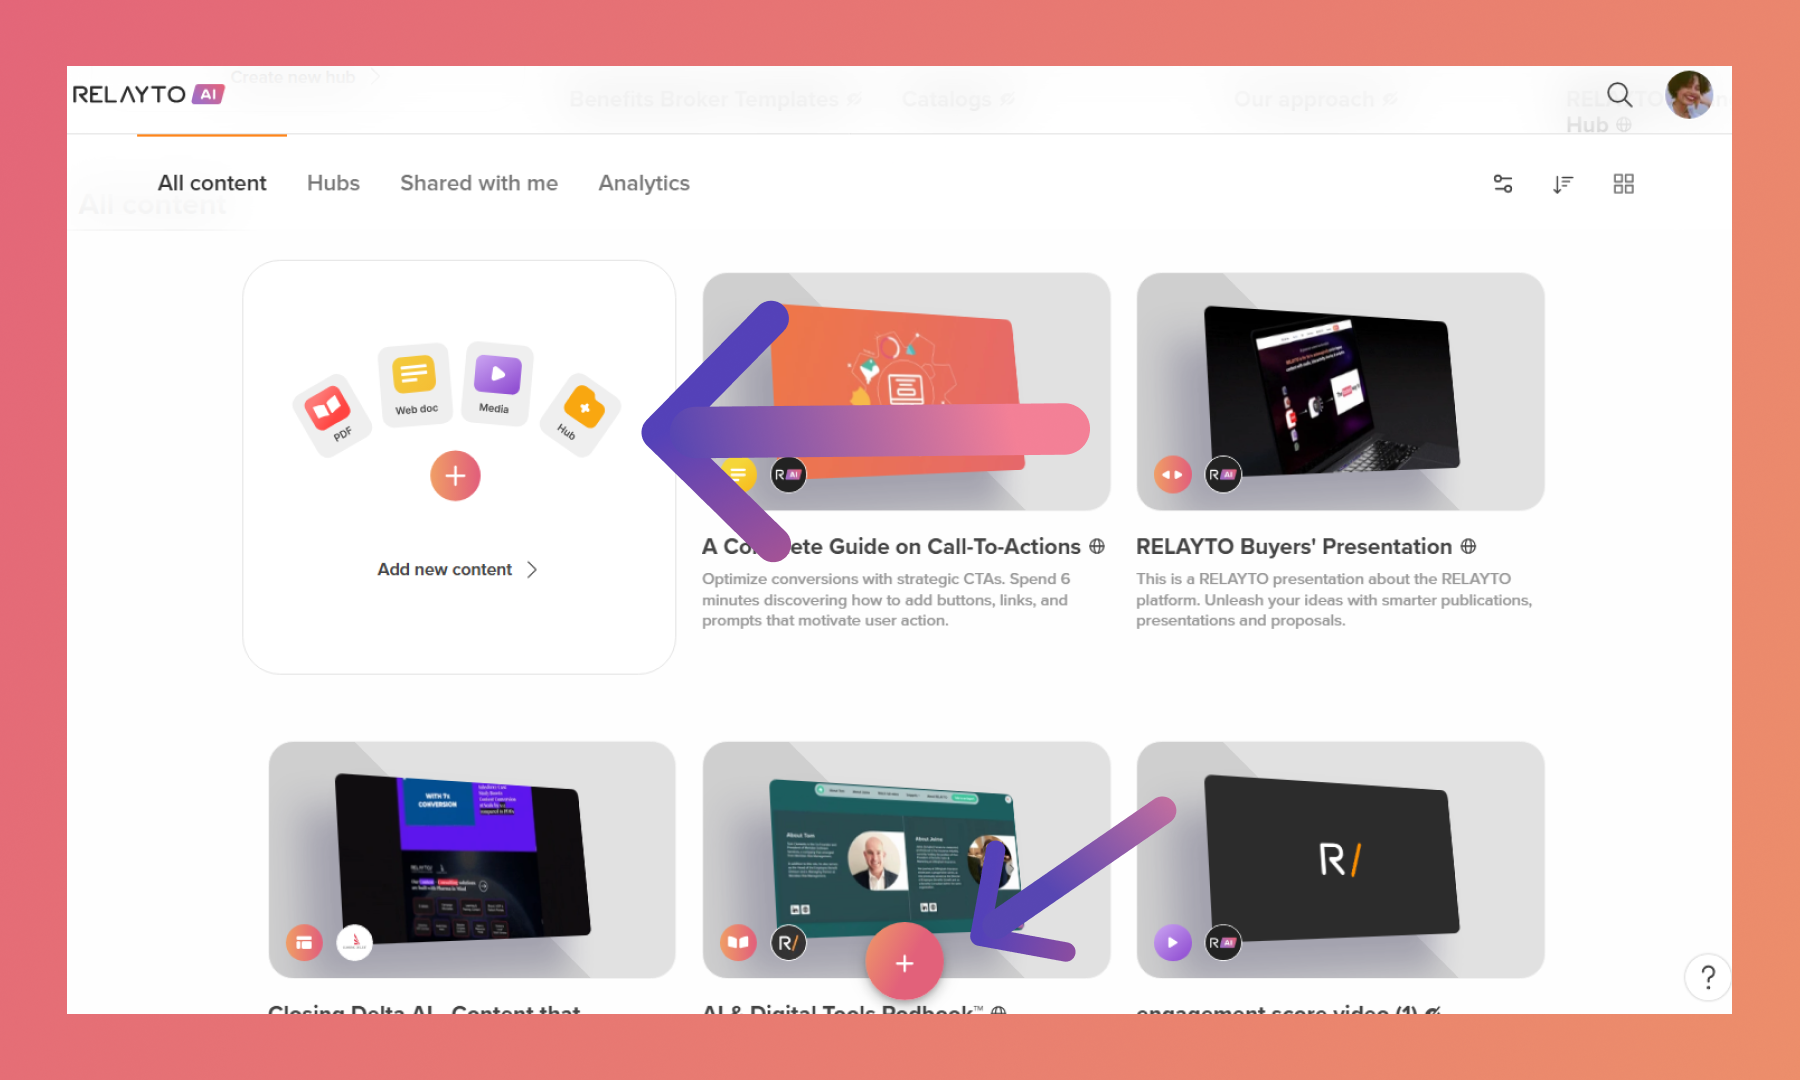
Step 2
Click "Web Doc" on the menu.
.png)
Adding Title & Description
This information is highlighted and can be easily edited by changing the text marked below.
.png)
Adding a Cover Image
Blogs have two states for cover images: the one inside the blog and the shareable thumbnail. The dimensions of the two are different, but RELAYTO adjusts the image/GIF automatically to fit both.
.png)
Inside the blog
Step 1
To add an intern cover, click "Edit" on the top right corner.
.png)
Step 2
Click the upload button on the right corner. Then you'll be able to drag and drop your image/GIF. We recommend adding a file smaller than 5mb for optimization.
💡Tips: To understand it better, please read: Best Performance Guide.
.png)
To be shared
Step 1
Click the Share button on the top right corner.
.png)
Step 2
Hover over the cover and the upload button will appear. Click it and you'll be able to drag and drop your image/GIF.
.png)
Editing the Text
Once you've crafted your captivating content for your blog, you might want to fine-tune it before publishing. Here's a quick guide to editing your text within RELAYTO Web Doc:
Adding Heading and Subheadings
Every text is a paragraph, but you can modify its format to create a hierarchy.
Note that every heading/subheading is also added automatically to navigation.
.png)
Modifying Text Size
The text has a default size, but you can make it bigger or smaller by changing its value.
.png)
Changing Fonts
Experiment with different fonts to create contrast. To go back to original, click "Default" on list.
.png)
Add Text Color and Outline
Play with different colors from our palette to highlight the text across your blog. Click "Remove color" to go back to default.
.png)
Making Text Bold or Italic
Select the text, and then click B or I on the top bar.
.png)
Creating a List
Select the text, and then click the icons for numbered and bullet list.
.png)
Changing Text Alignment
Click on the three dots on top menu and then select the text alignment icon.
.png)
Adding Links
Write the i the link icon on the top menu and past the URL.
✅ Embedding link on text. Write a word or sentence and then select it. When the menu appears, click the link icon and add the URL.
✅Editing a link. Click on the link and a popup will appear, then select the pencil icon.
.png)
Creating Quotes
Select the text line and then click the quotation marks icon on the top menu.
.png)
Adding an Image/GIF
Click the picture icon on the top menu. We recommend optimizing the file for better performance.
💡Tips: To understand it better, please read: Best Practices for Media.
.png)
Embedding a Video or Experience
You can embed videos from YouTube, Vimeo, and many other sources, as well as adding other RELAYTO blogs and experiences. To do it, click on the video icon on the top menu.
.png)
Creating Rows & Collums
Click on the table icon on the top menu. You can adjust each text box independently for font styles, sizes, and colors to enhance readability and visual appeal within each cell.
.png)
Adding Codes
Click on the three dots on the top menu and then select the code icon to add one single line of code or the block code icon beside it to add a block of code.
.png)
Related Articles:
Thank you for joining us in this tutorial! If you have any questions or need help, feel free to email us at support@relayto.com or book a call here.